
By Yiyu Chen
In this project, I applied various image processing techniques, starting with the exploration of 2D convolutions through finite difference operators to enhance edge detection in images. I then used Gaussian filters to smooth images before subtracting these from the original to sharpen image details. Further, I experimented with creating hybrid images that appear differently at varying distances and concluded with multi-resolution blending to integrate different images seamlessly. This report presents the methods I employed, the results obtained, and the insights I gained from these experiments.
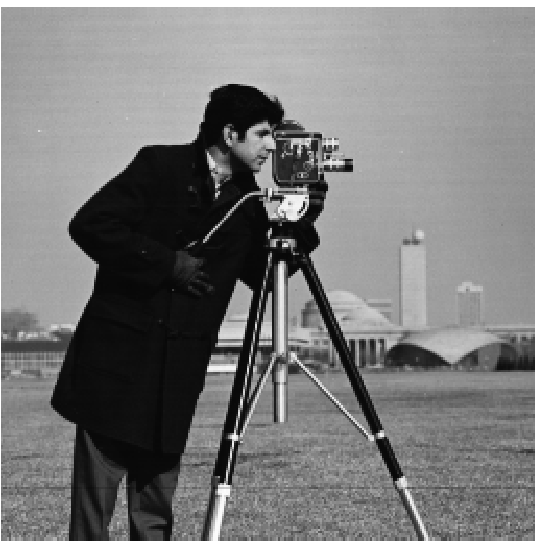
Why this method is effective for edge detection: This method is effective for edge detection because it directly targets changes in brightness, which define edges within an image. The separate use of horizontal and vertical kernels allows for the detection of edges in both orientations, making the approach robust and versatile for various types of images. By enhancing areas where there is a significant shift in adjacent pixel values, this technique efficiently delineates the boundaries and shapes within the images, crucial for tasks such as object recognition and scene understanding.


However, we can find that the result was quite noisy. It looks like a collection of white dots, rather than the edges we want. To solve this problem I applied a Gaussian filter.

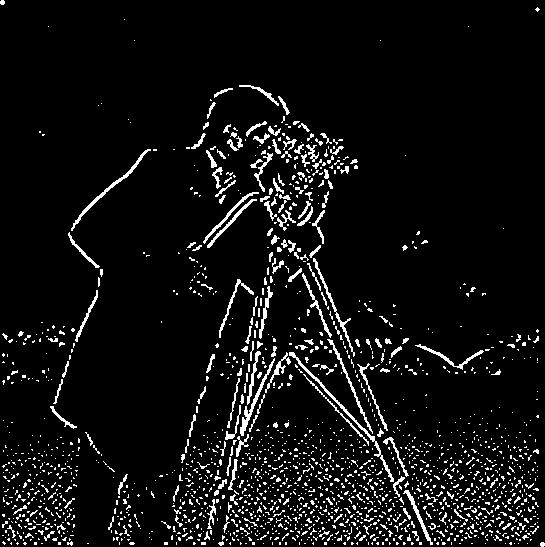
When using the Derivative of Gaussian (DoG) filter compared to the simple finite difference operator, the most significant difference observed is the reduction of dots. The Gaussian filter serves as a smoothing operator that mitigates the high-frequency noise components before the derivative operation is applied. This results in edges that are smoother and less fragmented than those produced by the mere application of the finite difference operators. The DoG approach effectively captures important edge details while suppressing unnecessary noise, making it superior for applications where clean edge detection is crucial.
After this, instead of doing three consecutive convolutions, I applied a single convolution operation with a kernel that is the convolution of the three kernels. Since images are generally larger than kernels, convolution operations on images take more time. This change can improve efficiency. Mathematically, the associative property of convolution ensures that the order of operations does not affect the final result, meaning that convolving the image first with a Gaussian and then with a derivative filter is equivalent to convolving it directly with the combined DoG filter. This method simplifies the process while maintaining accuracy in edge detection. I verified this by visually comparing the results, confirming that the DoG approach produced outcomes consistent with those obtained through the sequential application of Gaussian and derivative filters.
Exploring the Effects of \(D_x\) and\(D_x\) Kernels:
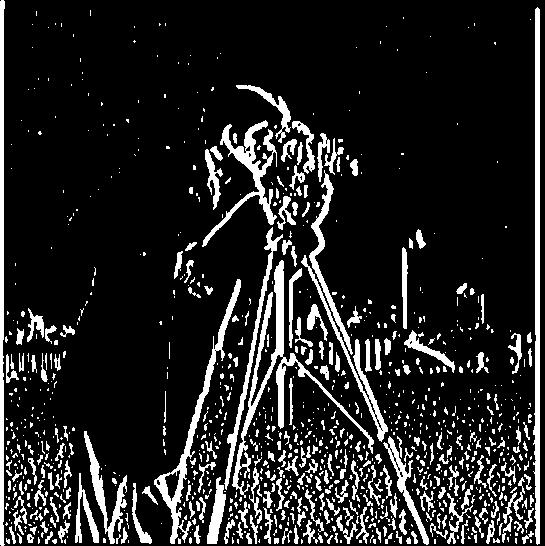

The core functionality of these kernels can be likened to recognizing patterns in the image that match their structure. \(D_x\) and\(D_x\) act as templates that respond to specific orientations of edges: vertical and horizontal, respectively. By convolving these kernels with the image, areas that closely resemble the kernel's pattern produce higher values, effectively identifying edges that match the orientation of the kernel.
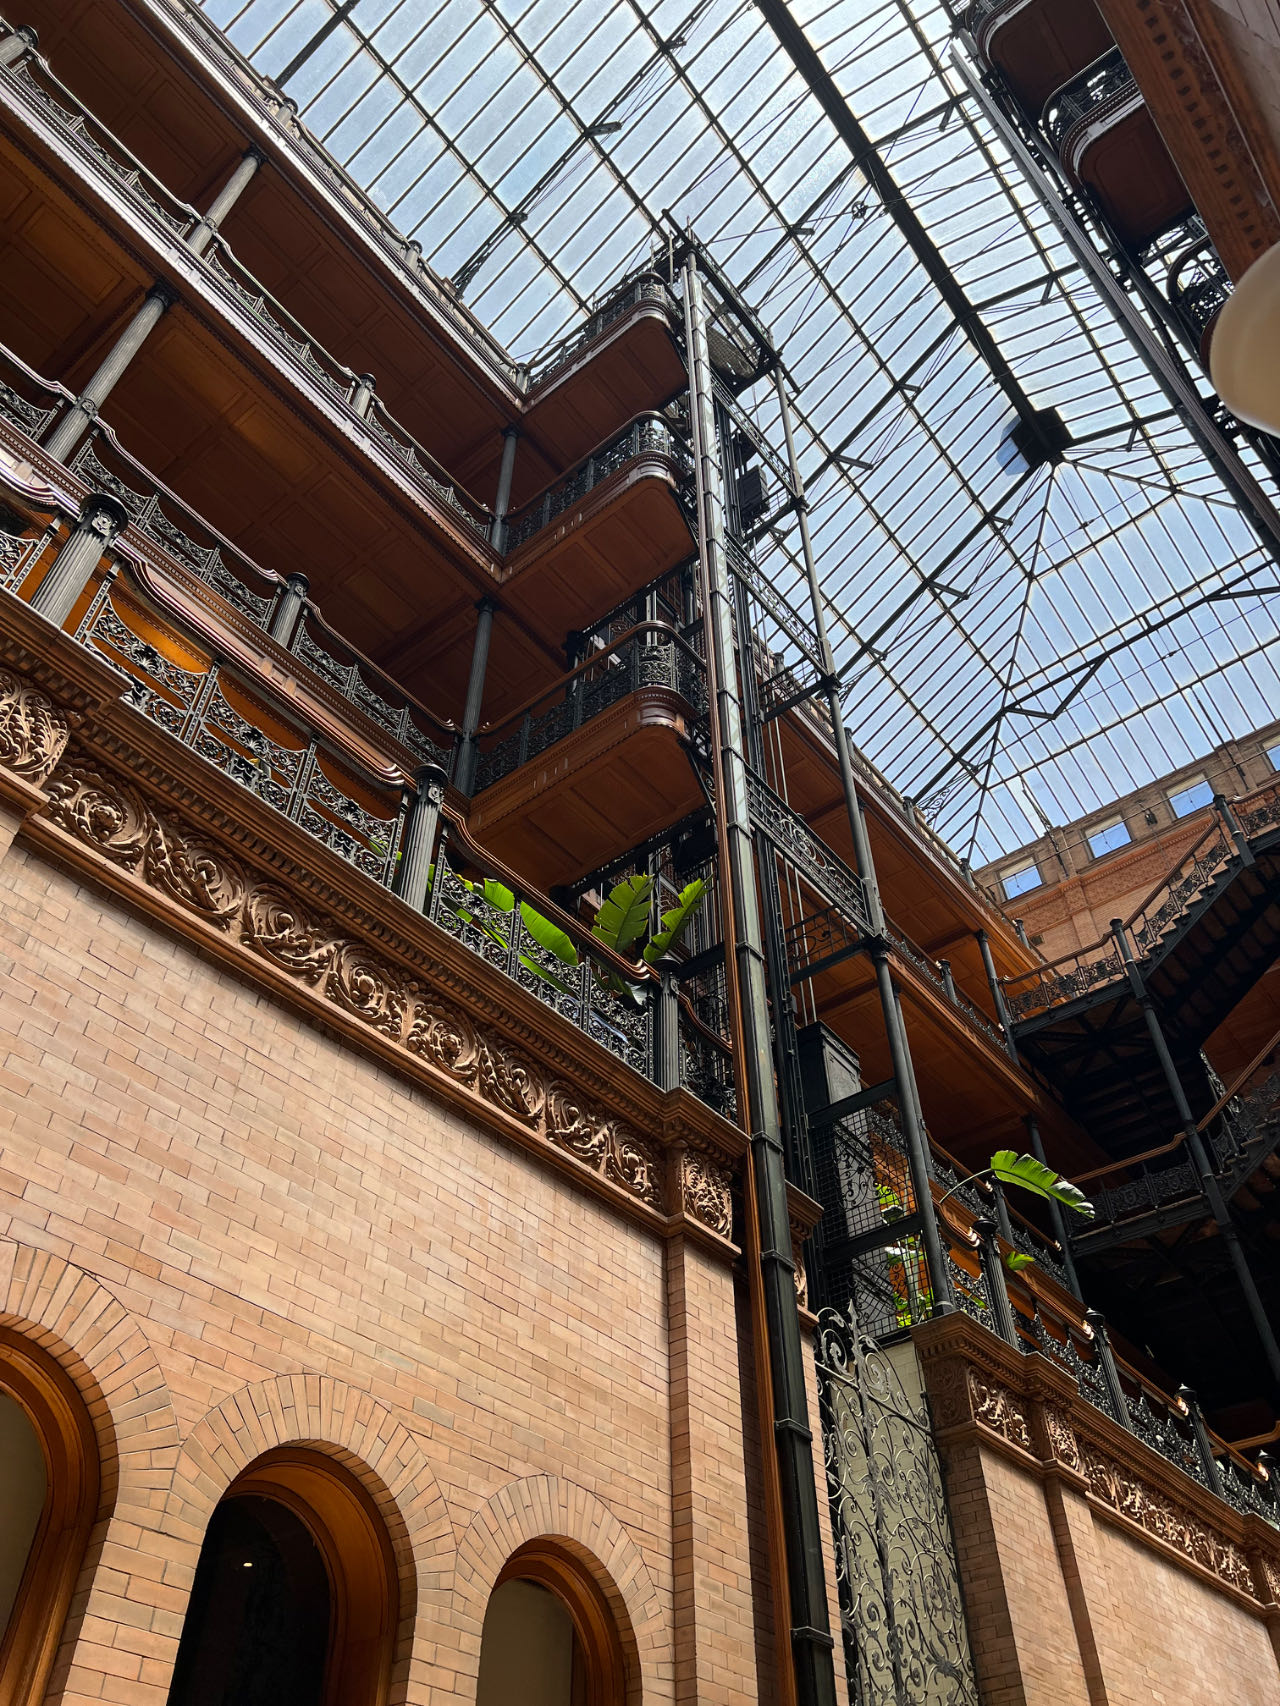
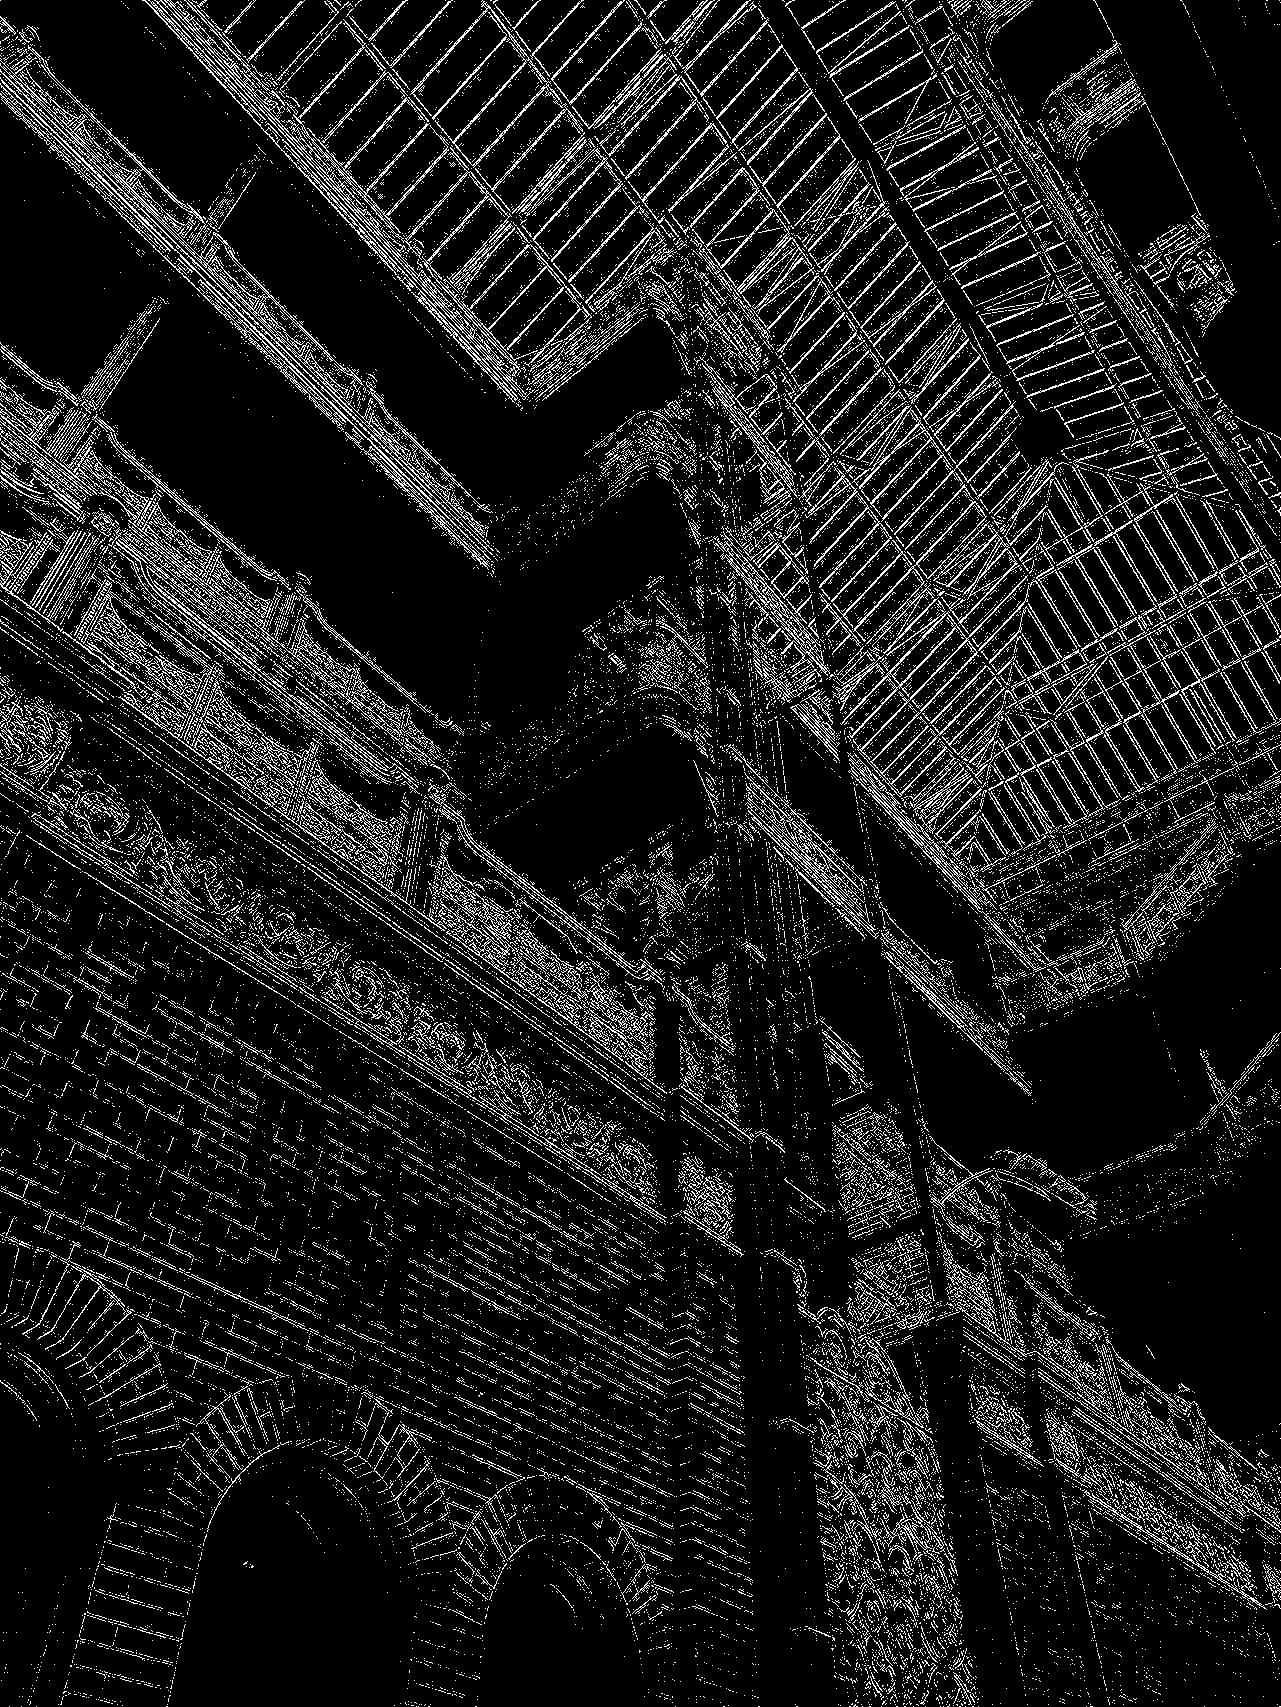
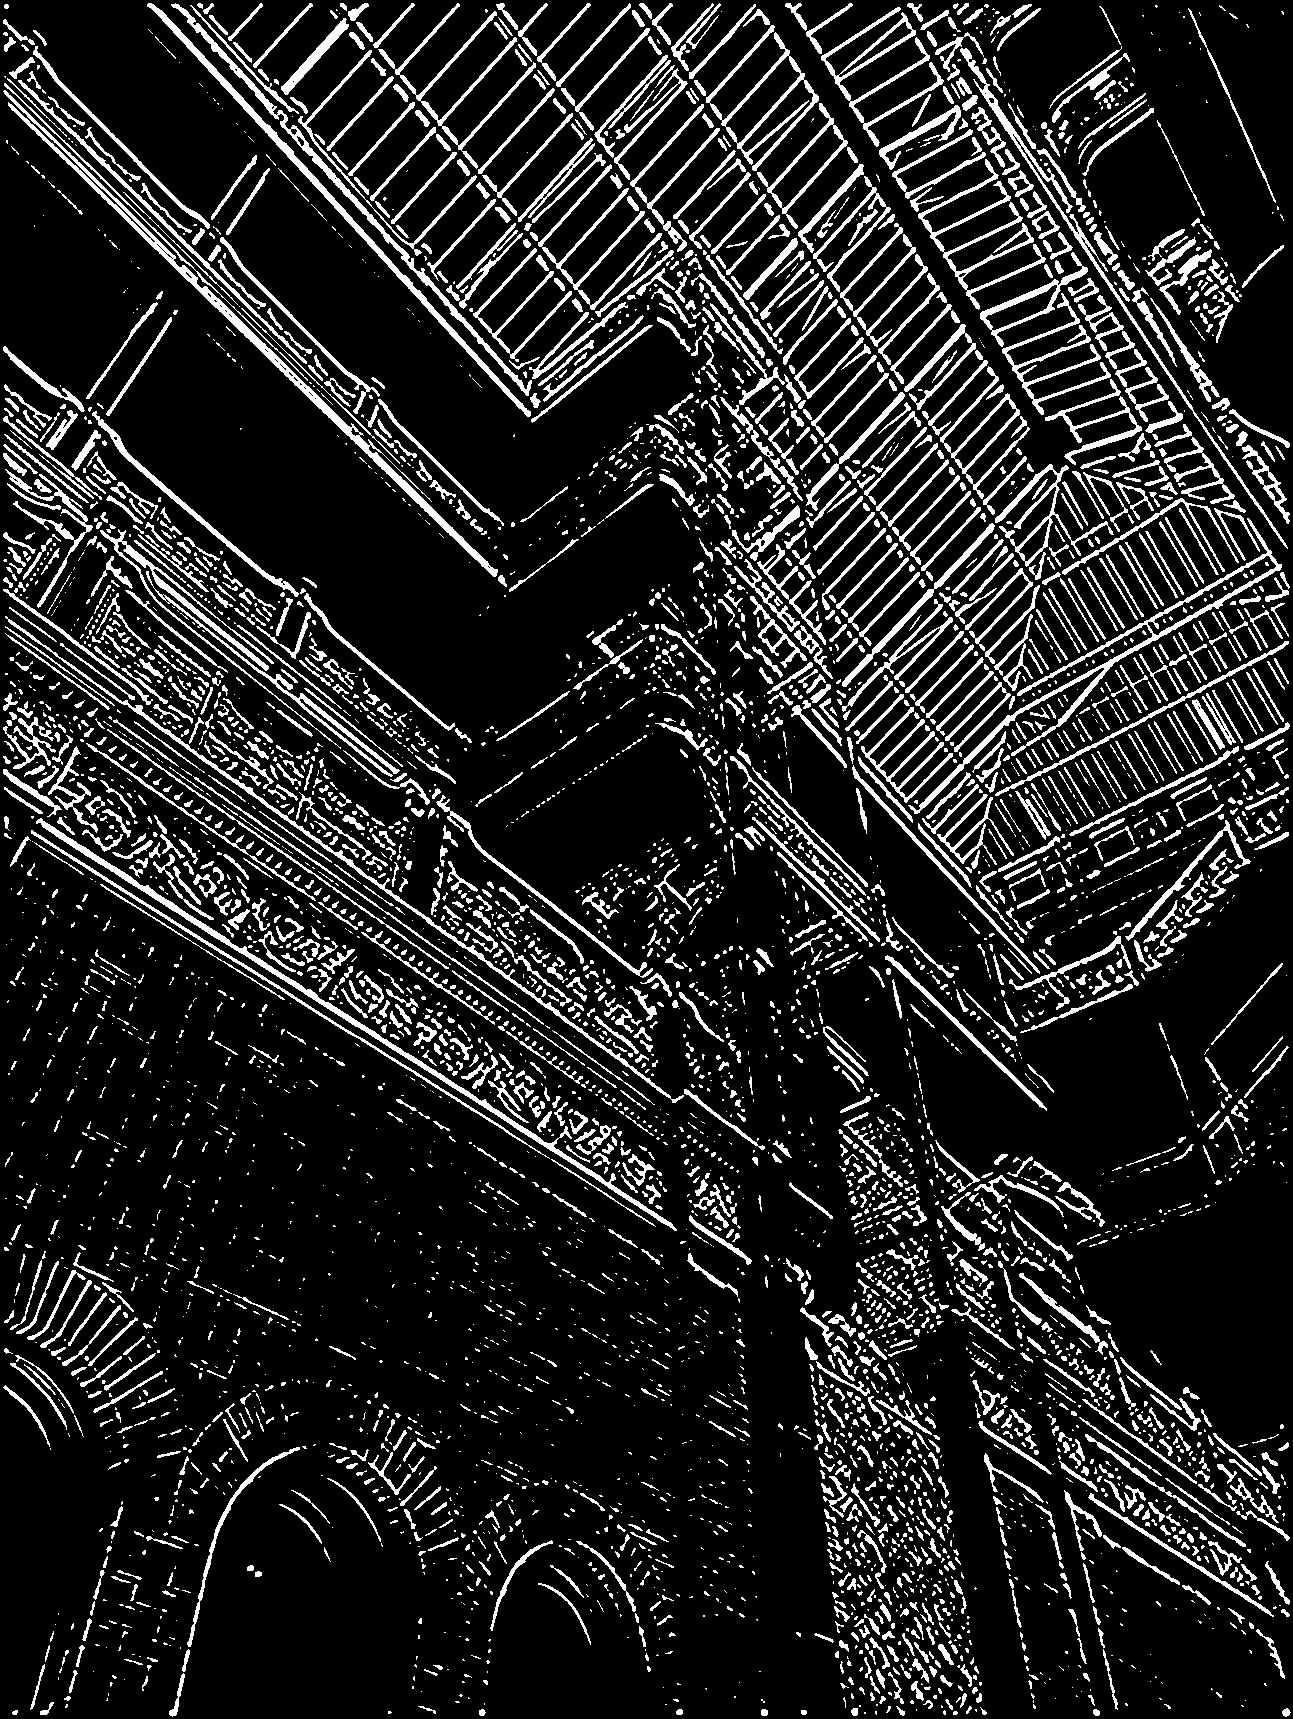
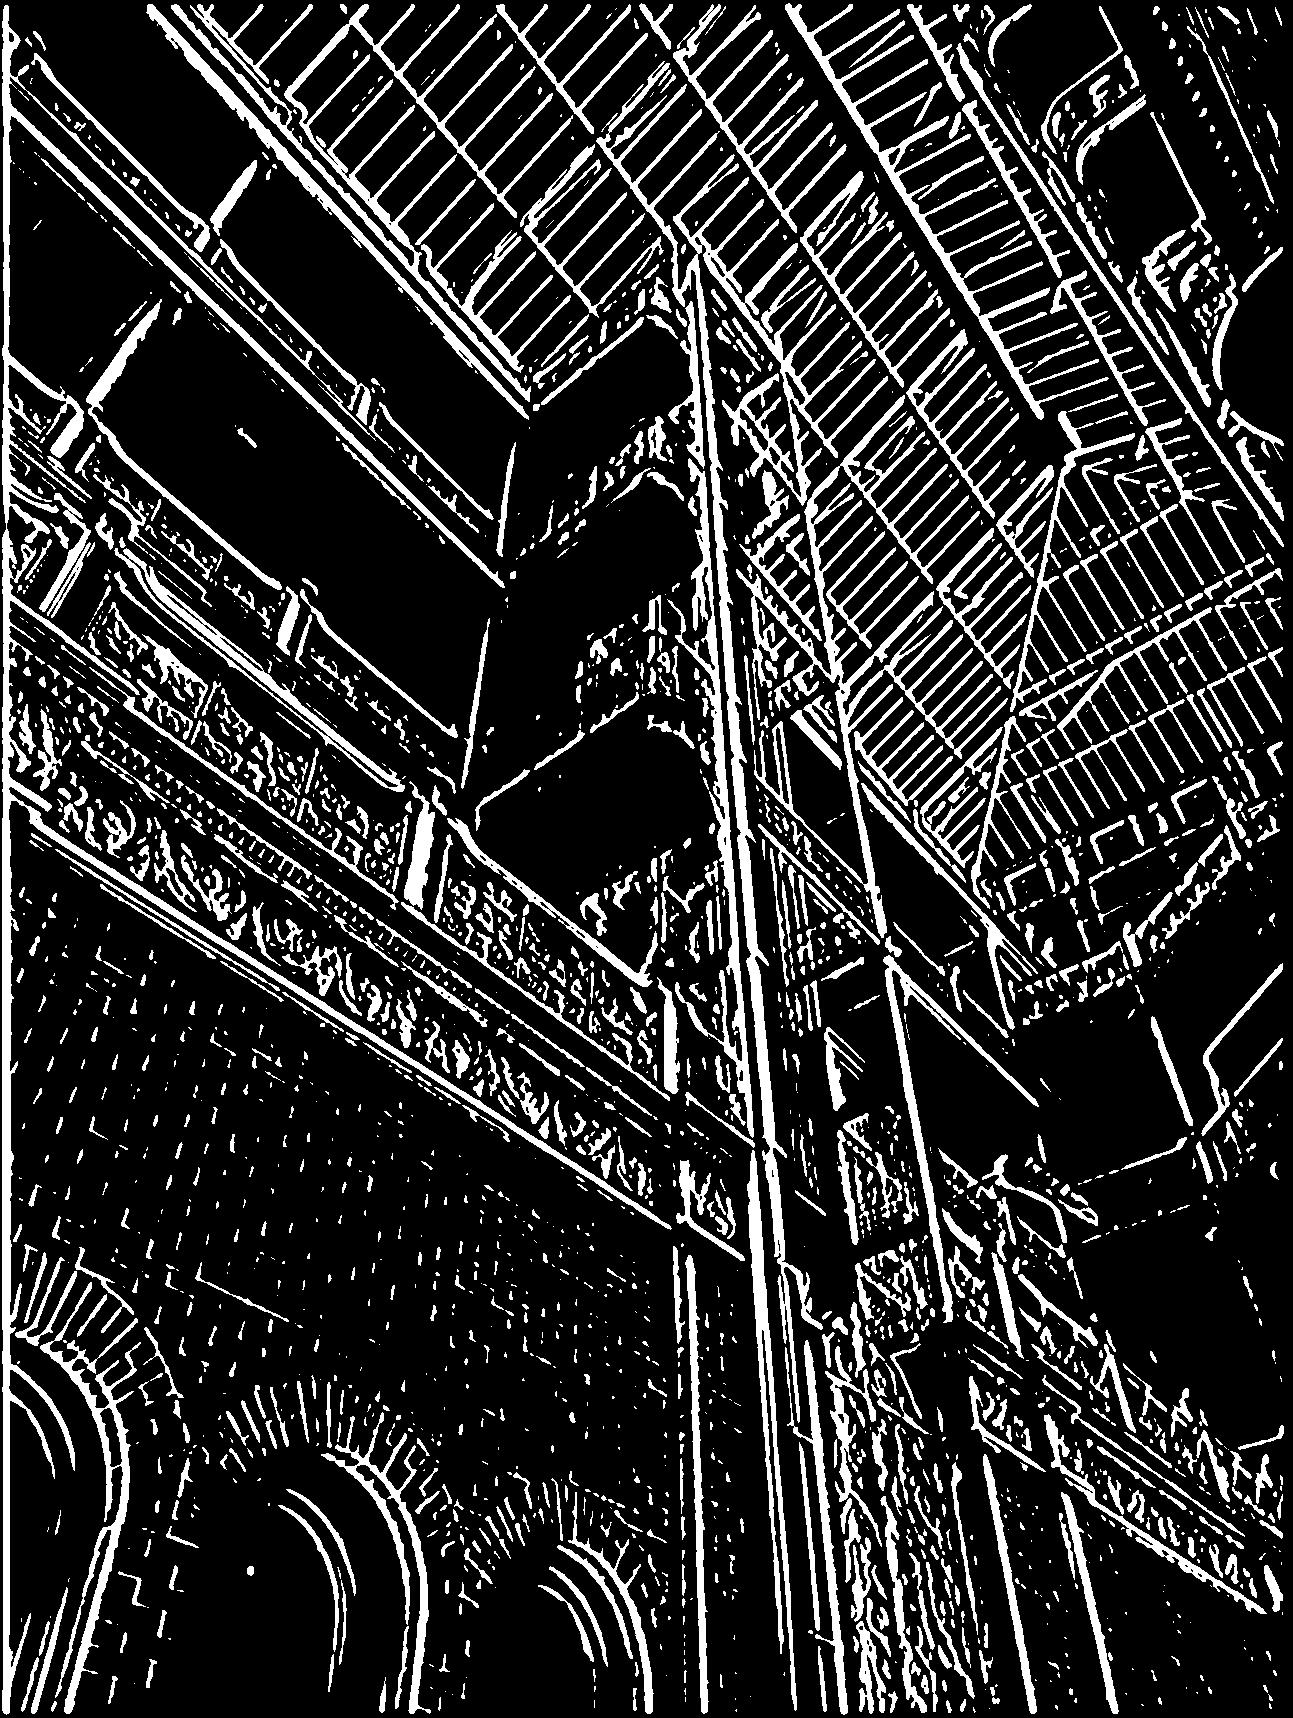
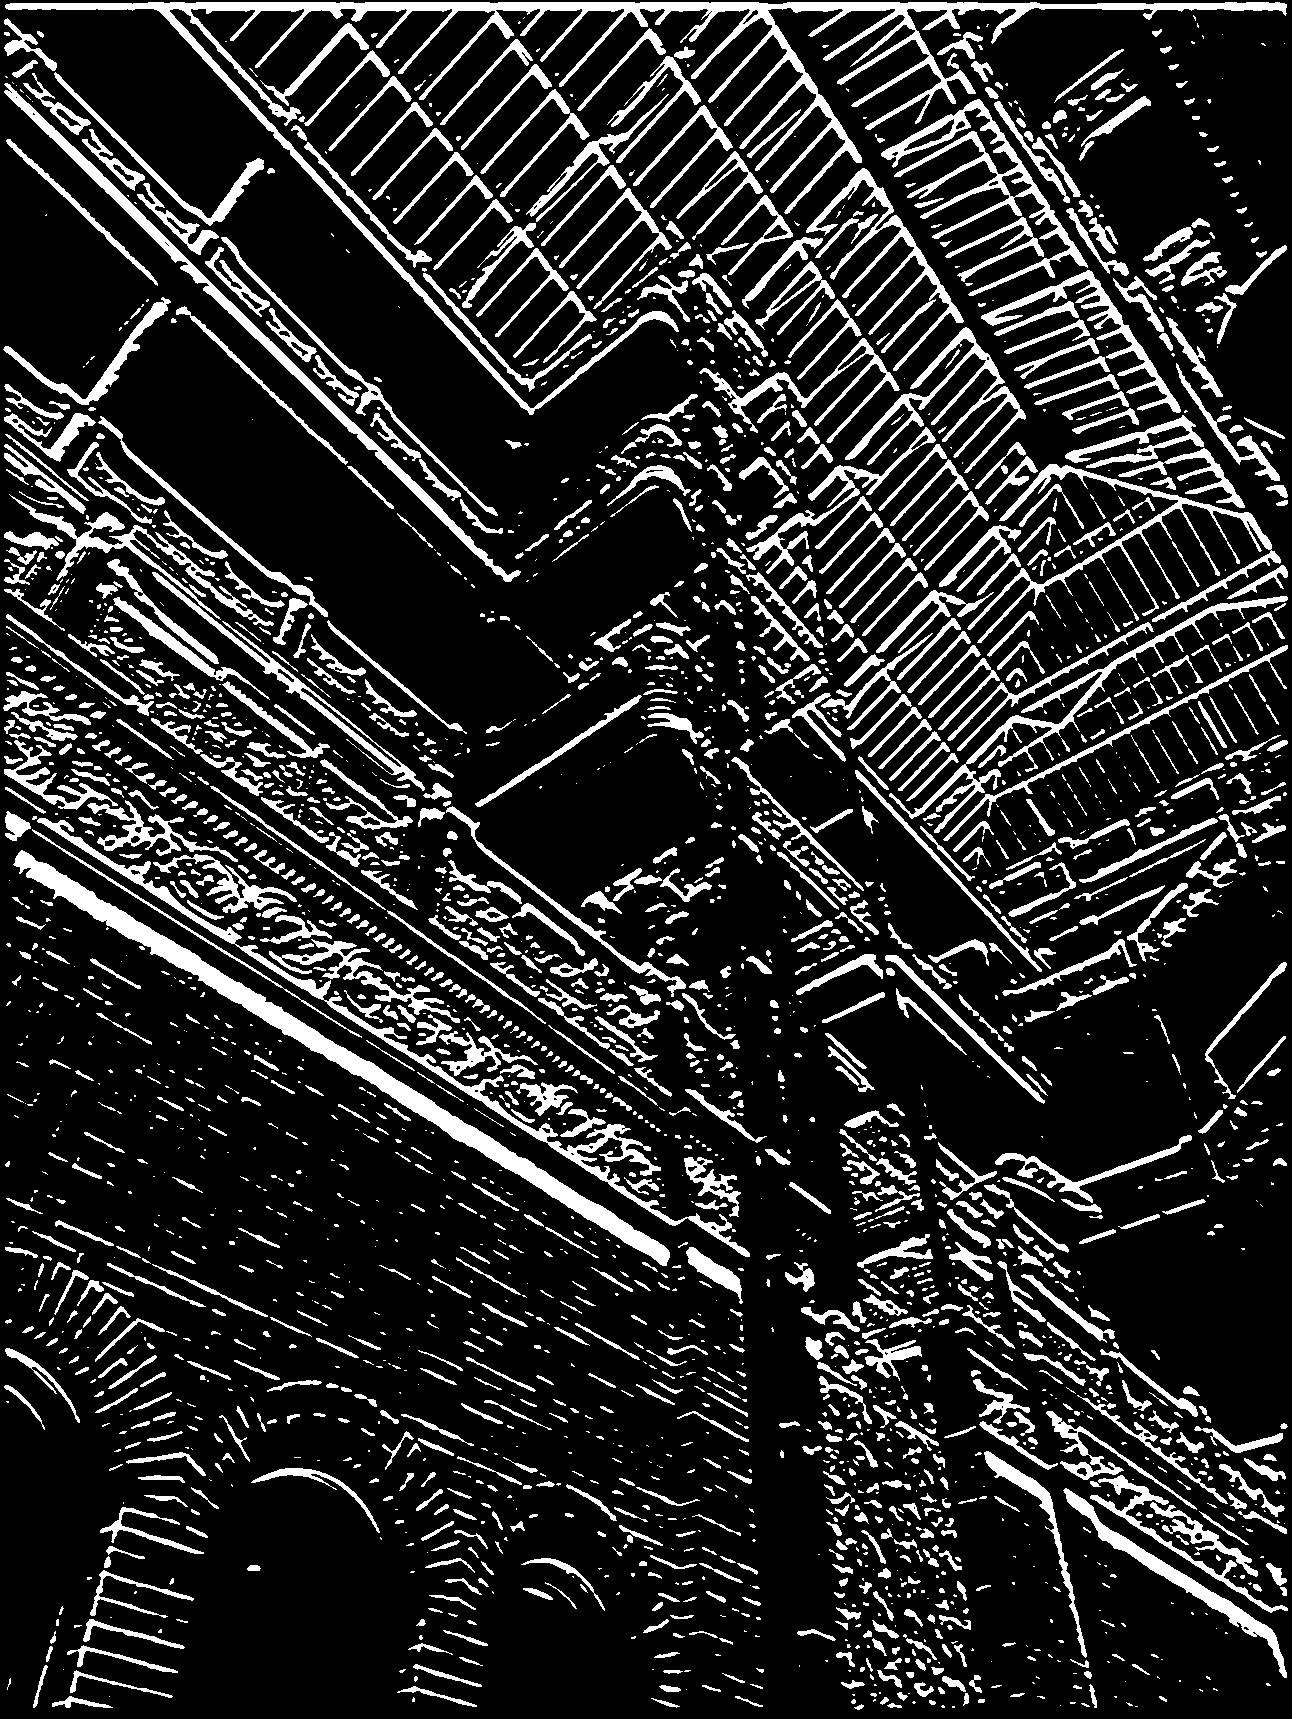
In this section, I implemented the unsharp masking technique to enhance image sharpness. This process involves subtracting a Gaussian blurred version of the image from the original to emphasize high-frequency details, effectively making the image appear sharper. The result is a visually sharper image that highlights textures and edges



For the evaluation, I selected a sharply detailed image of the ceiling of the Paris Opera House, applied a Gaussian blur to simulate a loss of sharpness, and then used the unsharp masking technique to attempt to restore its clarity.
Original vs. Sharpened Image: The sharpened image shows enhanced edge definition and texture clarity compared to the blurred version. However, it does not fully regain its original sharpness which was particularly evident in the delicate and finely detailed areas of the image. Also, the sharpening process introduced some artifacts and amplified noise.


In this section of the project, I explore the fascinating concept of hybrid images that change in perception based on viewing distance. Hybrid images combine the high-frequency details of one image with the low-frequency components of another, resulting in a composite that offers dual interpretations. Due to the uneven distribution of human photoreceptor cells in the retina, when viewing closely, the viewer perceives a high-frequency component, but from a distance, the low-frequency component dominates the visual experience. The creation process involves careful frequency separation and blending. It uses a low-pass filter to smooth one image, a high-pass filter to accentuate the details in another, and then combine them.


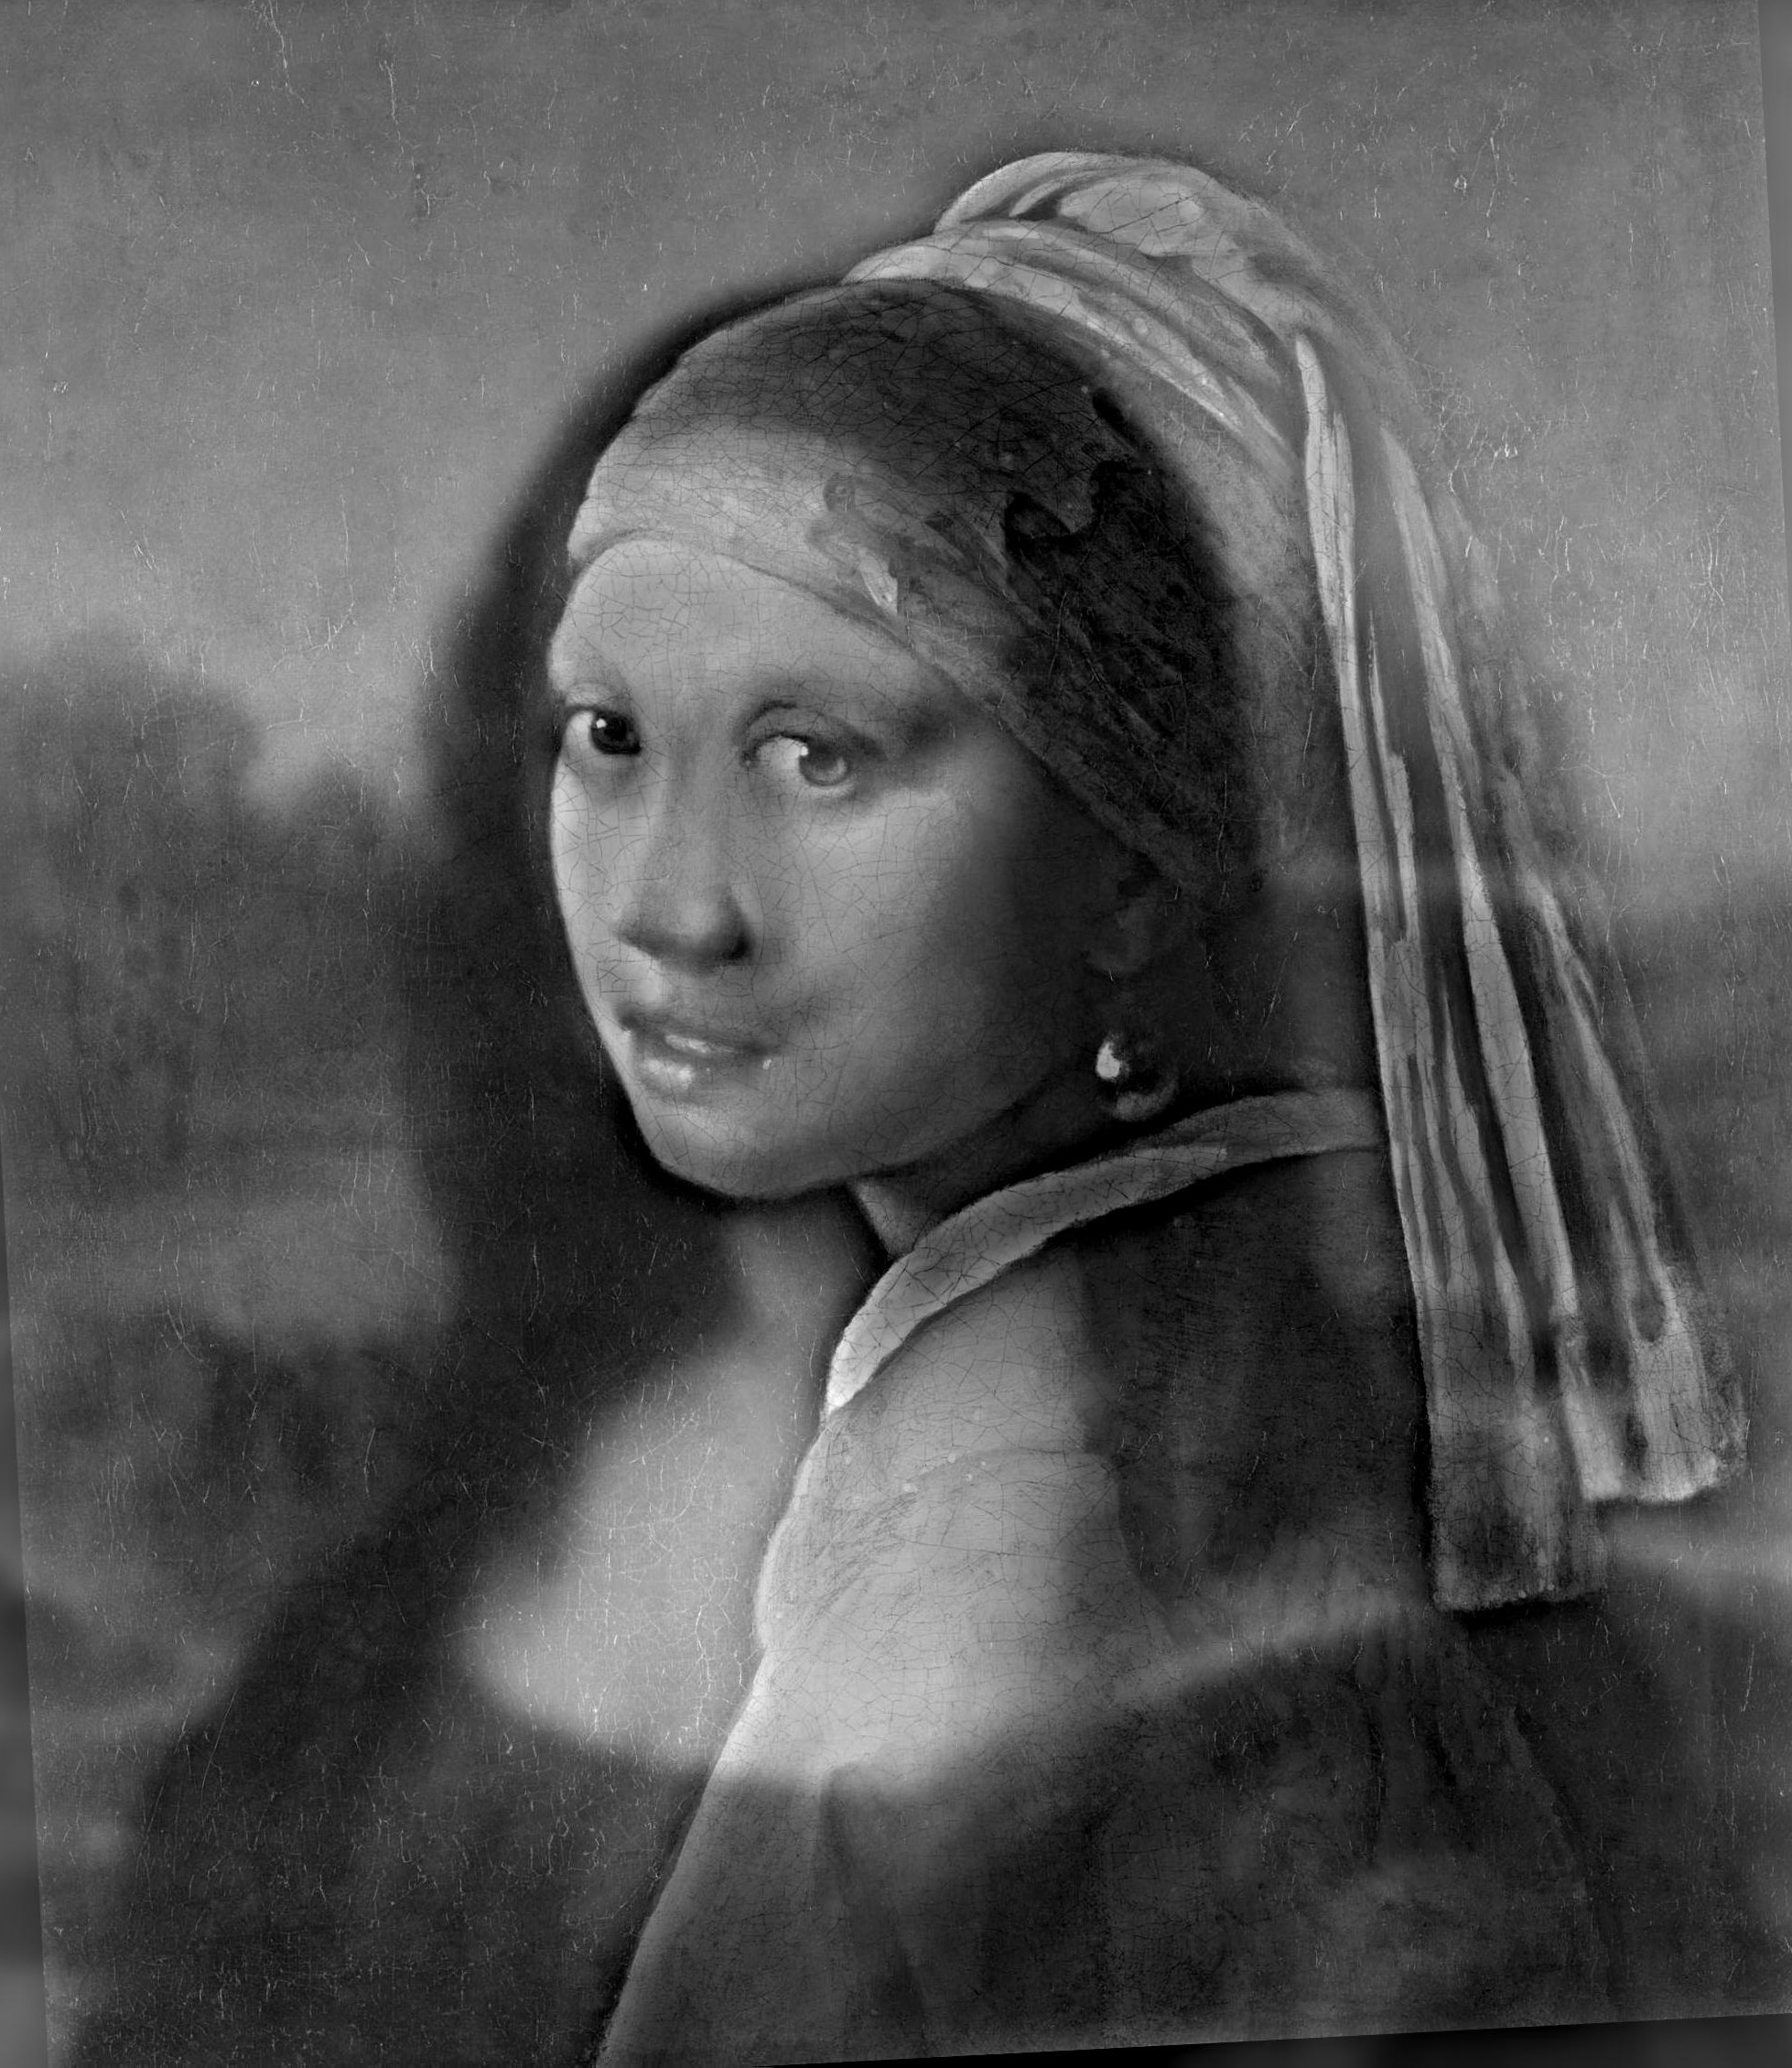

The leftmost image is zoomed out to simulate viewing from a distance.
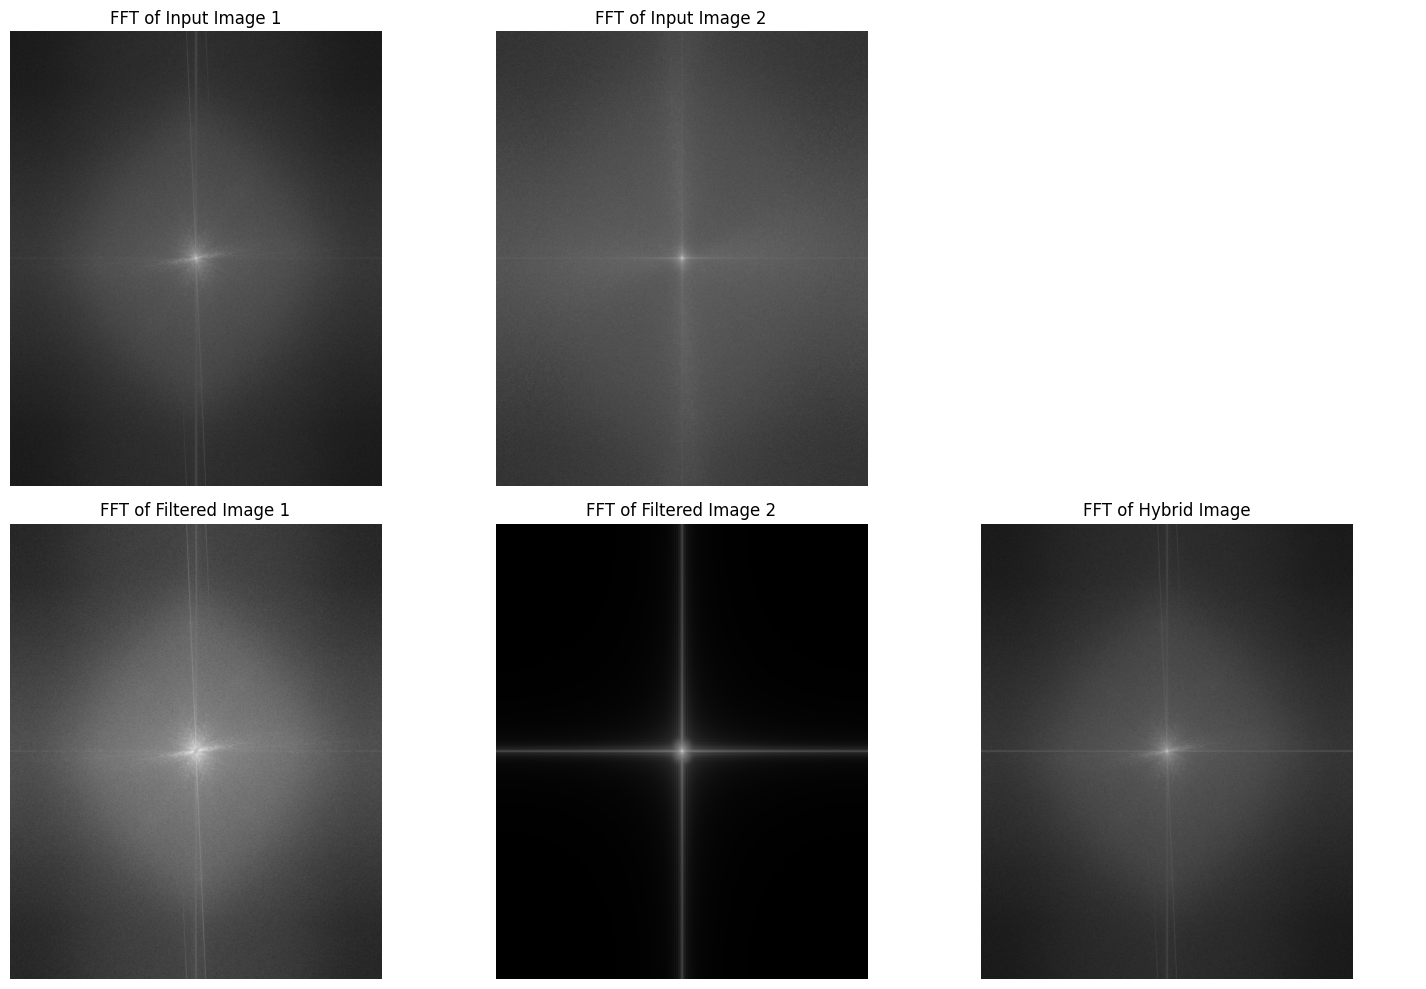
I created a hybrid image using two iconic artworks: "Mona Lisa," which was subjected to a low-pass filter to retain its low-frequency components, and "Girl with a Pearl Earring," from which high-frequency details were extracted. FFT (Fast Fourier Transform) images provide a visual representation of the frequency content of images in the spatial domain converted to the frequency domain. Here are the insights gained from FFT analysis at various stages of image processing.
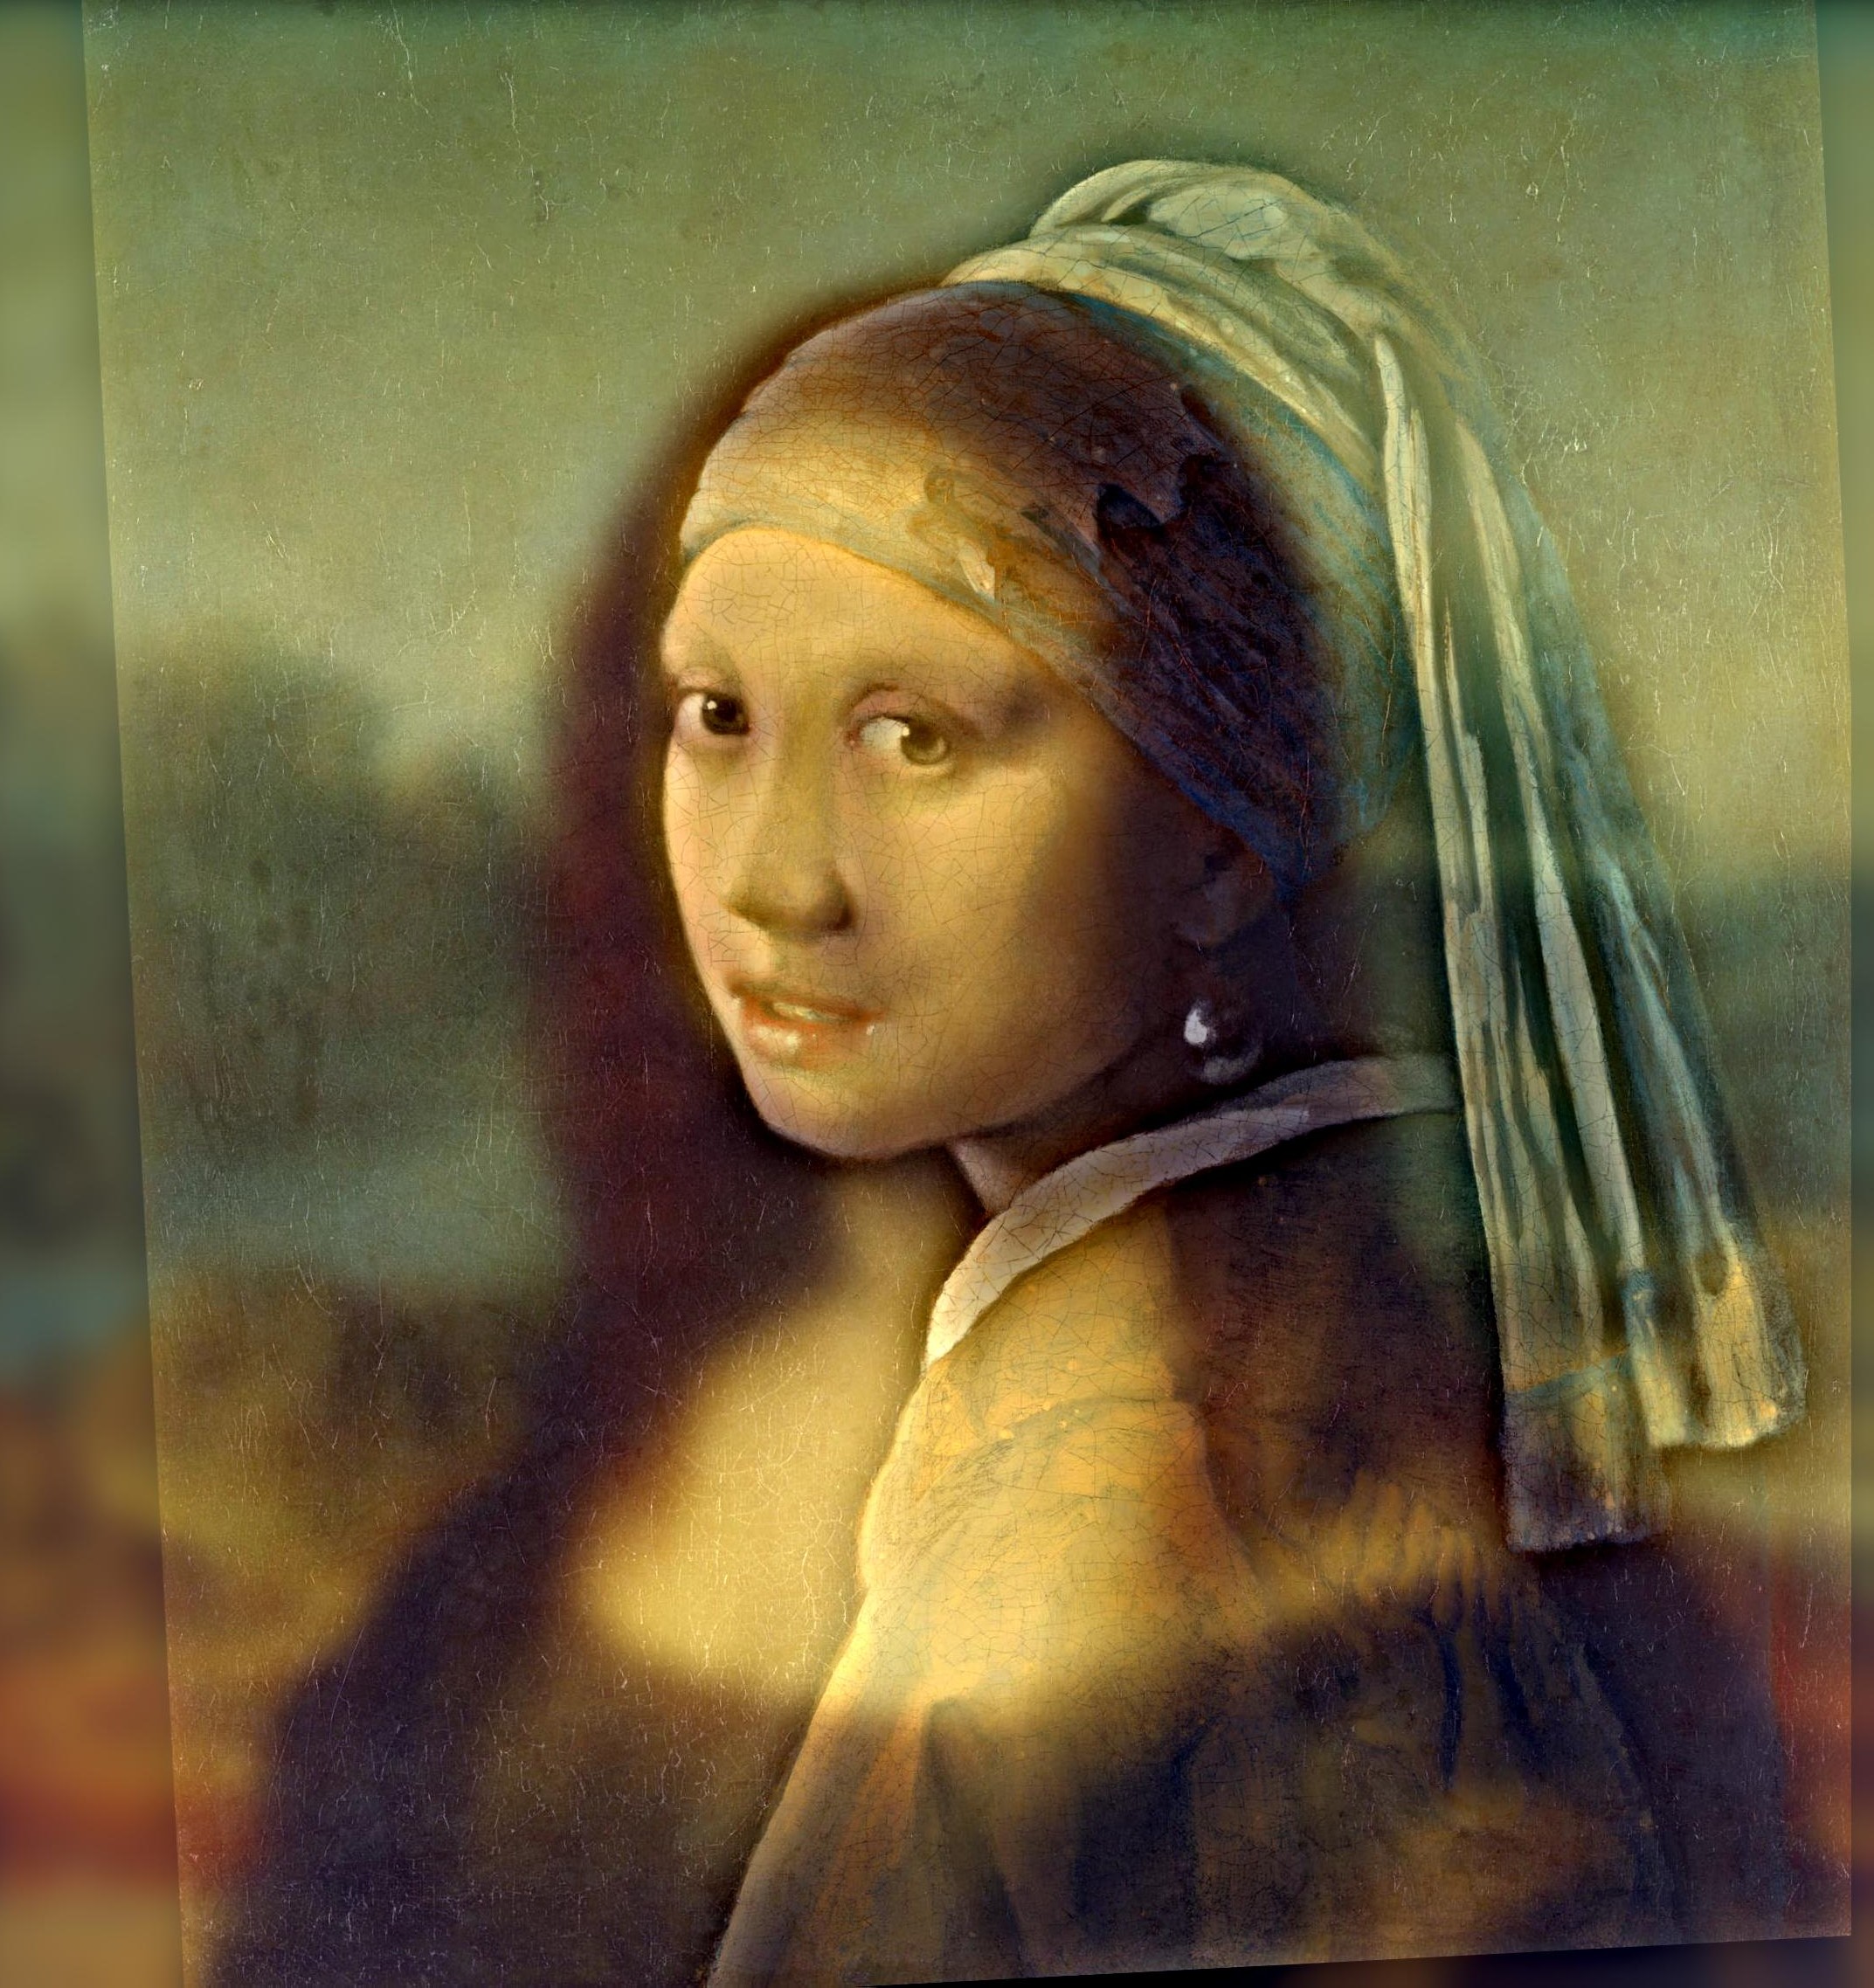

I tried to convert processing gray images to combing color ones and found that the key challenge lies in managing the image's frequency components effectively due to the richer information conveyed by color. Specifically, the Gaussian blur's sigma parameter needs careful adjustment. A higher sigma value is often required to reduce high-frequency details that can become overly pronounced and disrupt the visual coherence in the colorized image. This adjustment ensures that the addition of color enhances rather than obscures the image's underlying structures, maintaining clarity while providing a smooth transition between color tones. Also, the images that retain high-frequency details often have less color information but more edges. Since they are gotten by subtraction, it also requires a higher sigma value to get more information.
At the same time, the image selection is also crucial. My initial idea was to keep the low-frequency part of Girl with a Pearl Earring and filter out the high-frequency part of Mona Lisa. Because I think the blue part of Girl with a Pearl Earring is very distinctive. However, after trying, I found that this blue greatly affects the visual effect of the high-frequency part. In addition, the high contrast in brightness between the characters and the background in the picture also has a great impact. Even if I convert Girl with a Pearl Earring into a gray picture, the effect of the mixed picture is still not as good as when the Mona Lisa is used as the low-frequency part. On the other hand, the high-frequency information of Mona Lisa is relatively bland and less prominent, which is also an important factor.
The two images below are the best results I got after trying many different cutoff-frequency combinations, but still not very good results in the high-frequency part (Mona Lisa).
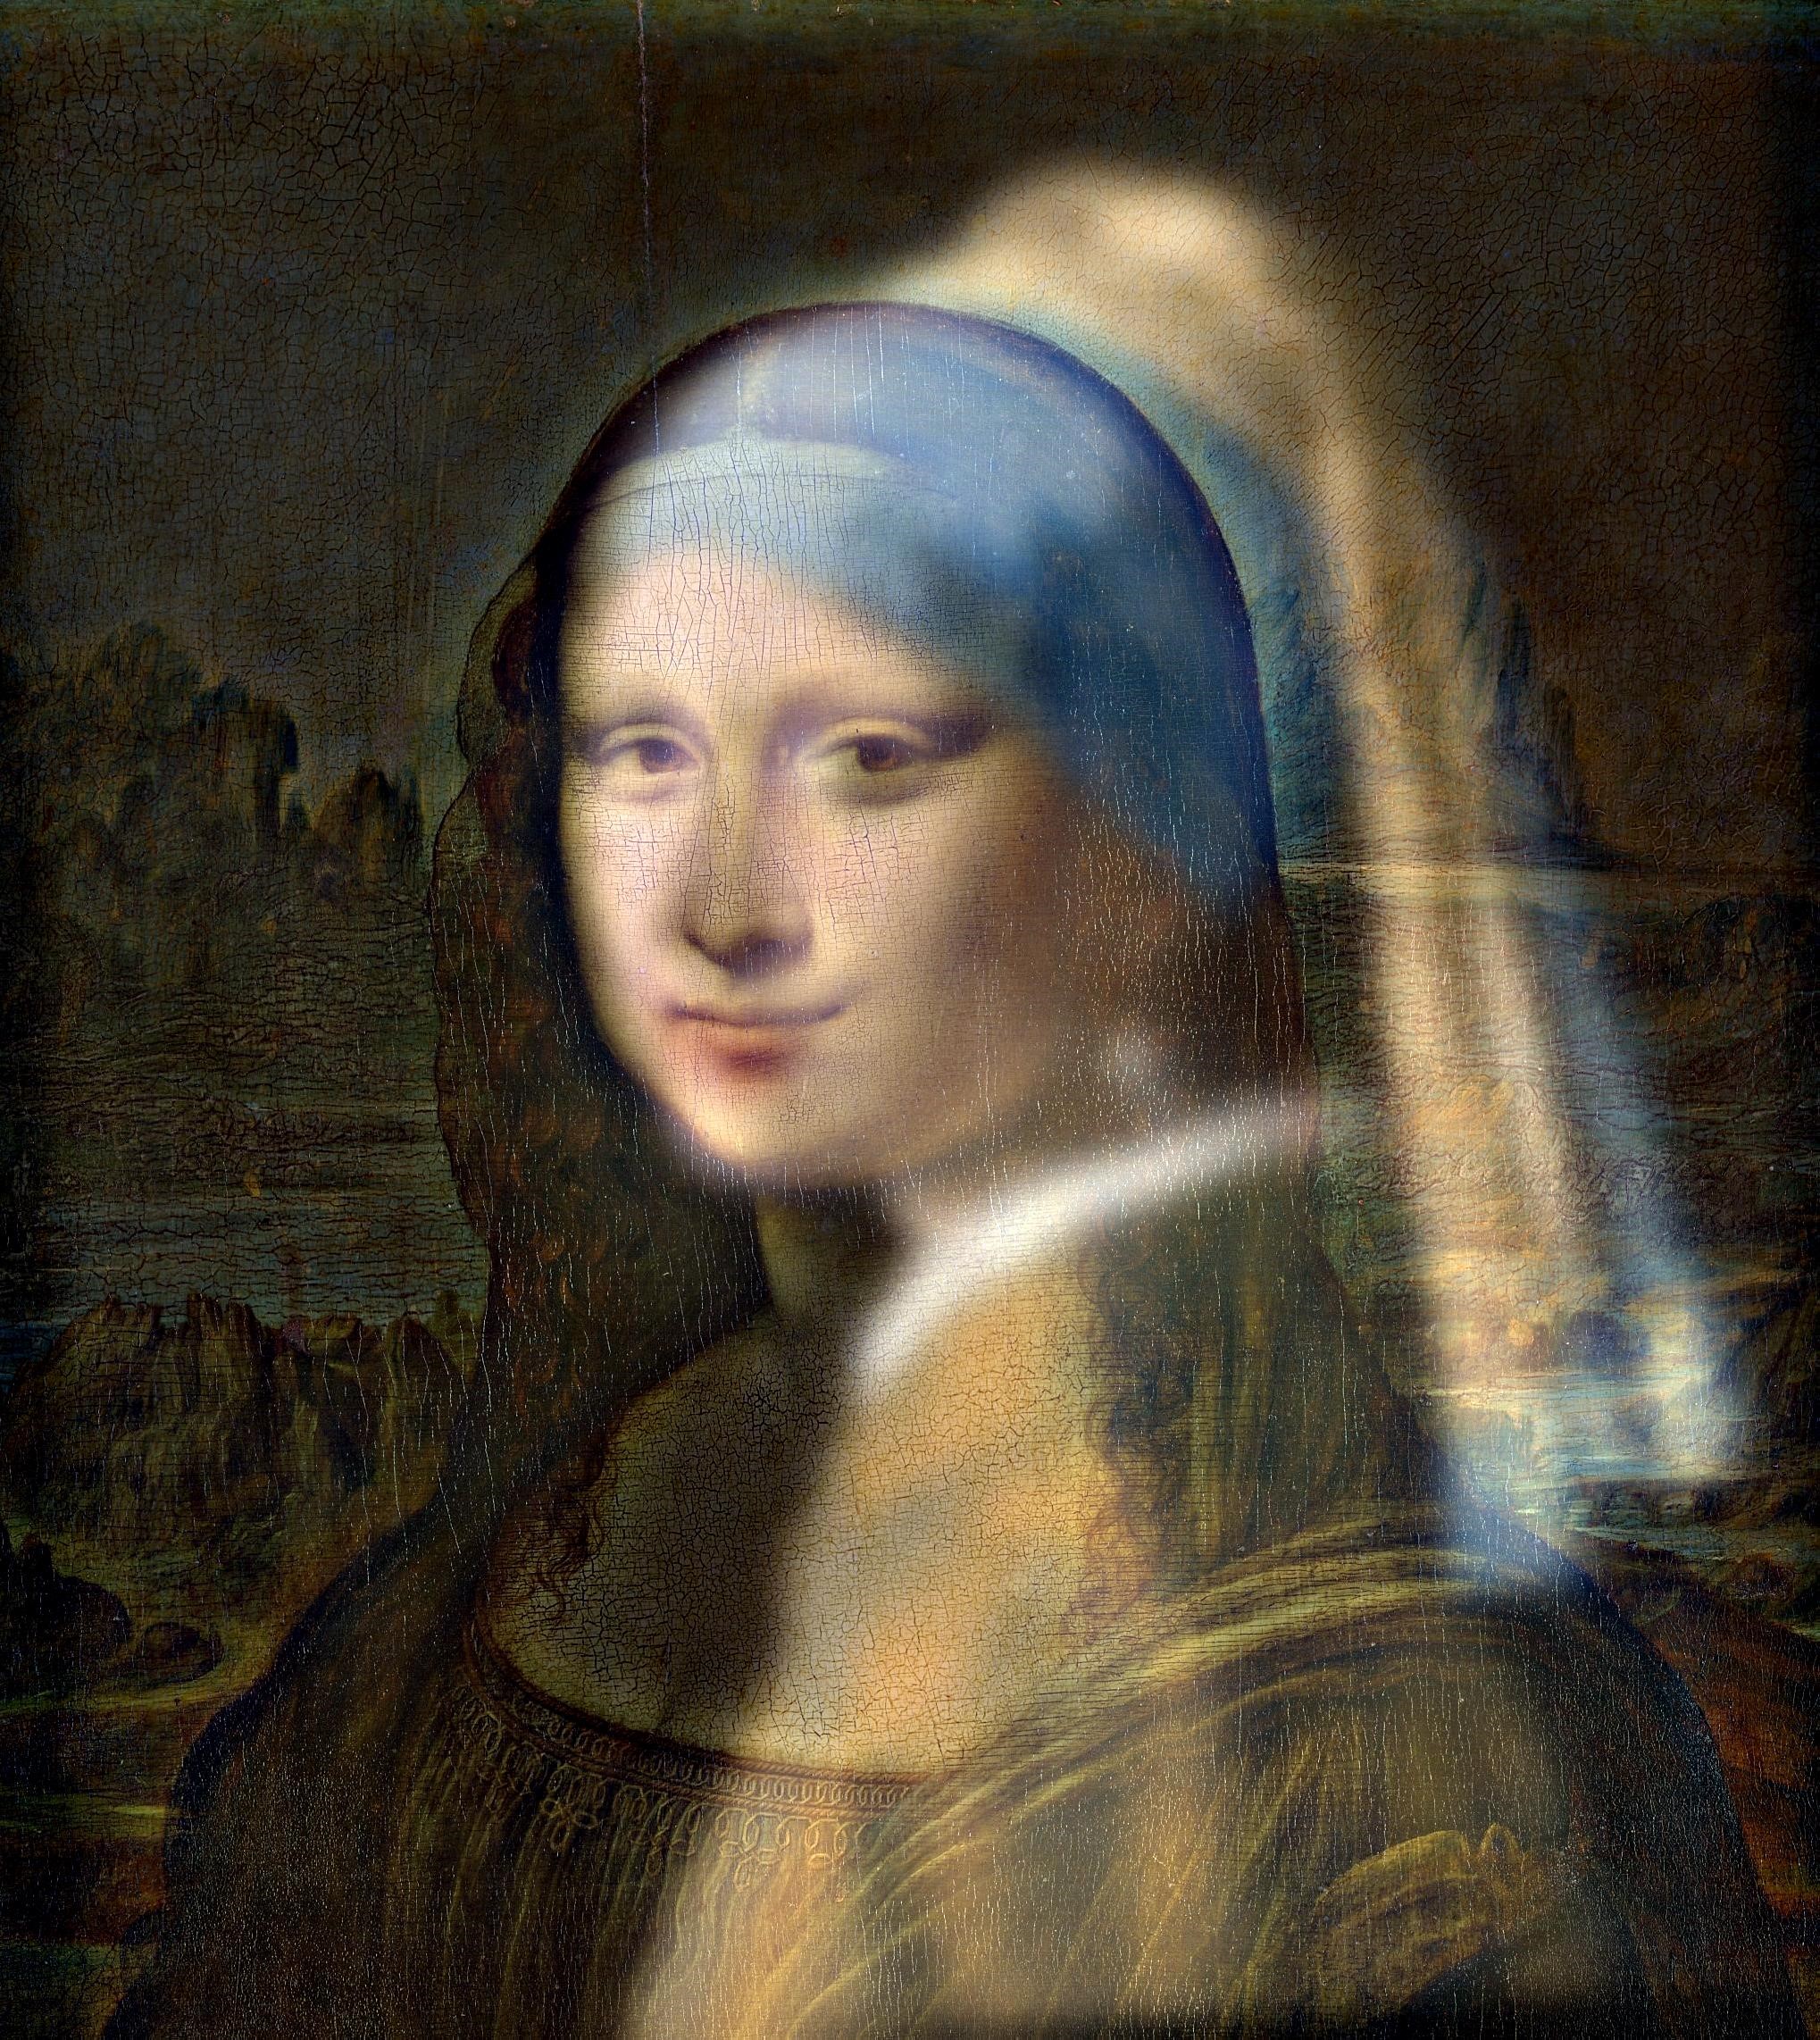

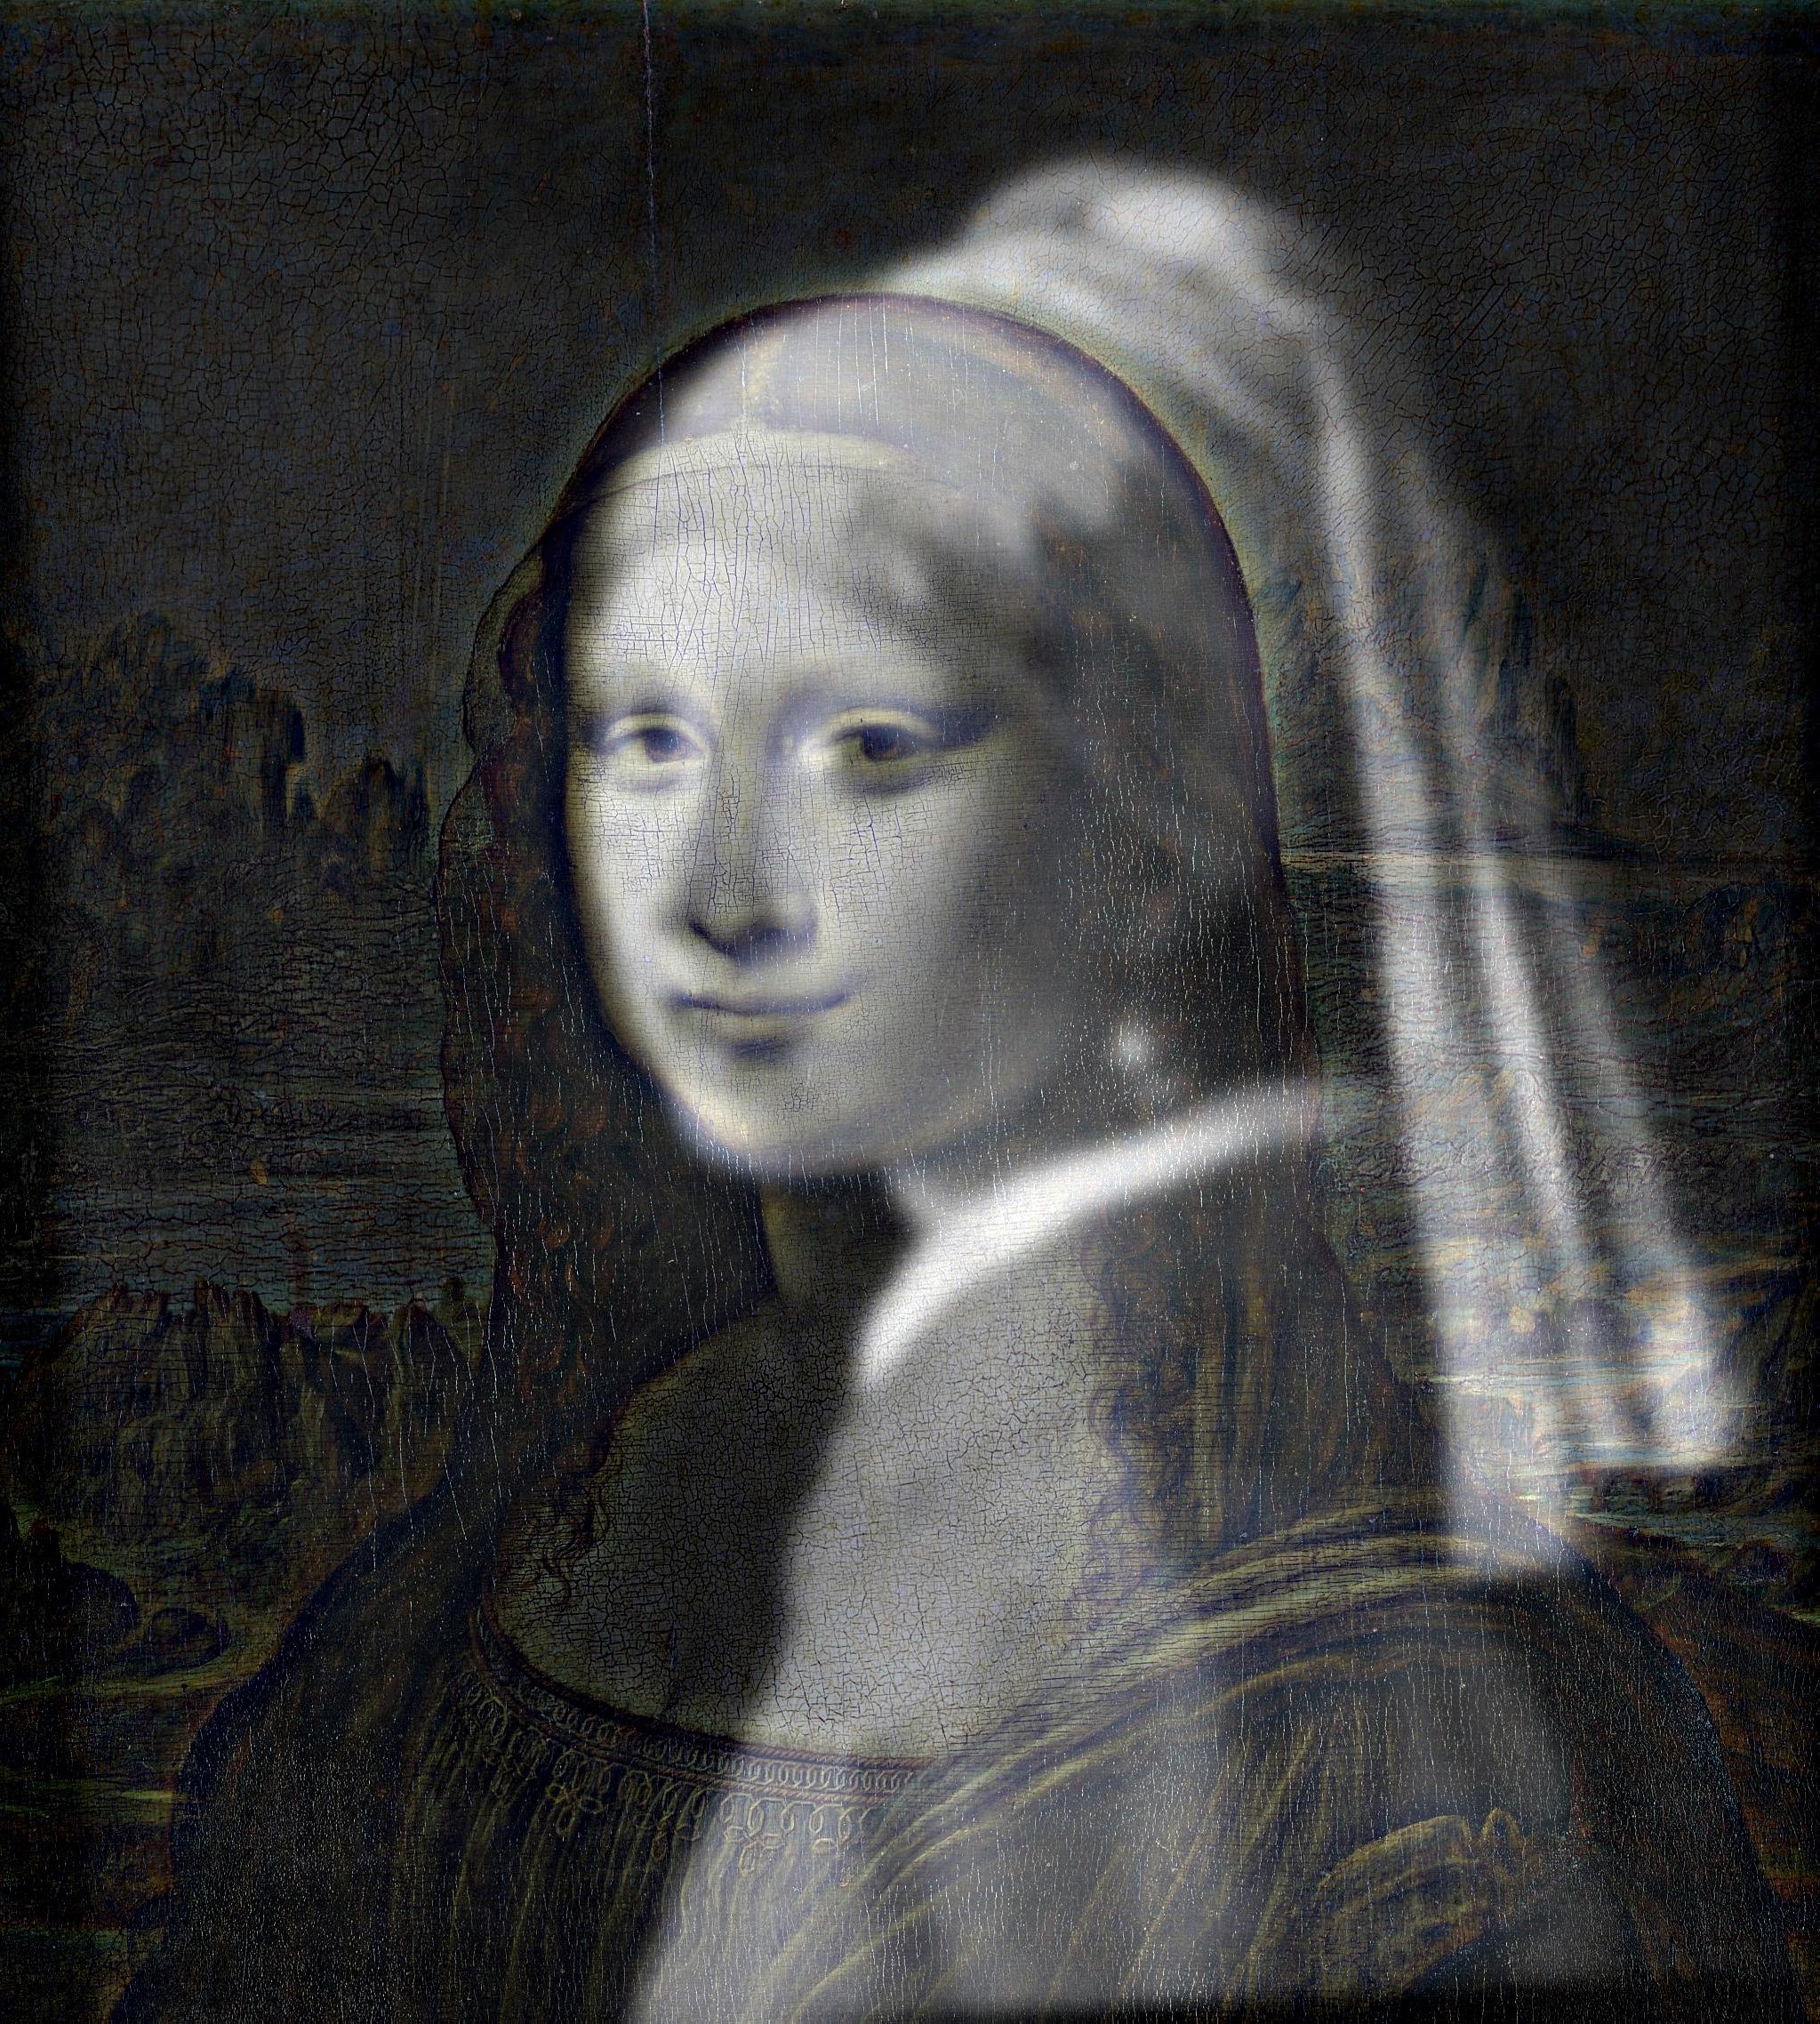

Failure examples: Color-Color & Gray-Color version
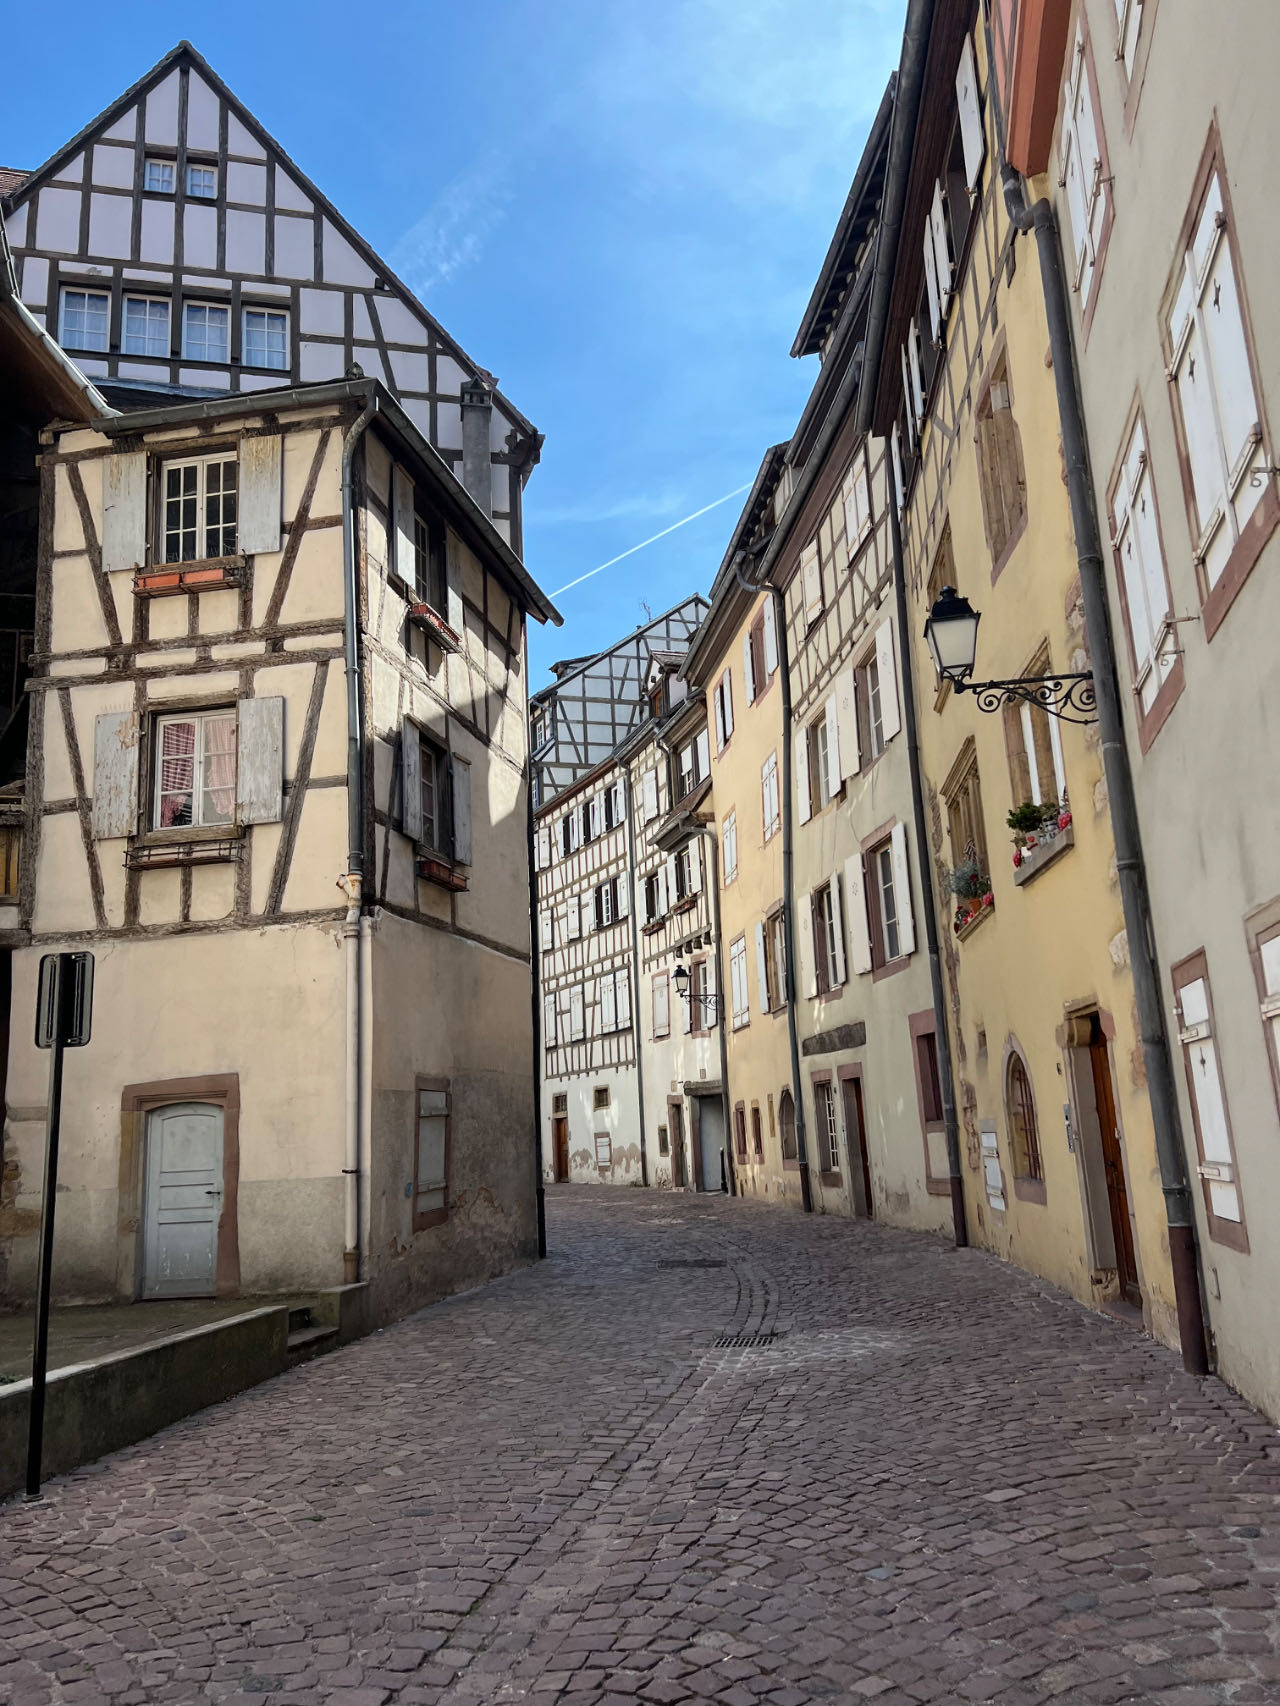

Original Images
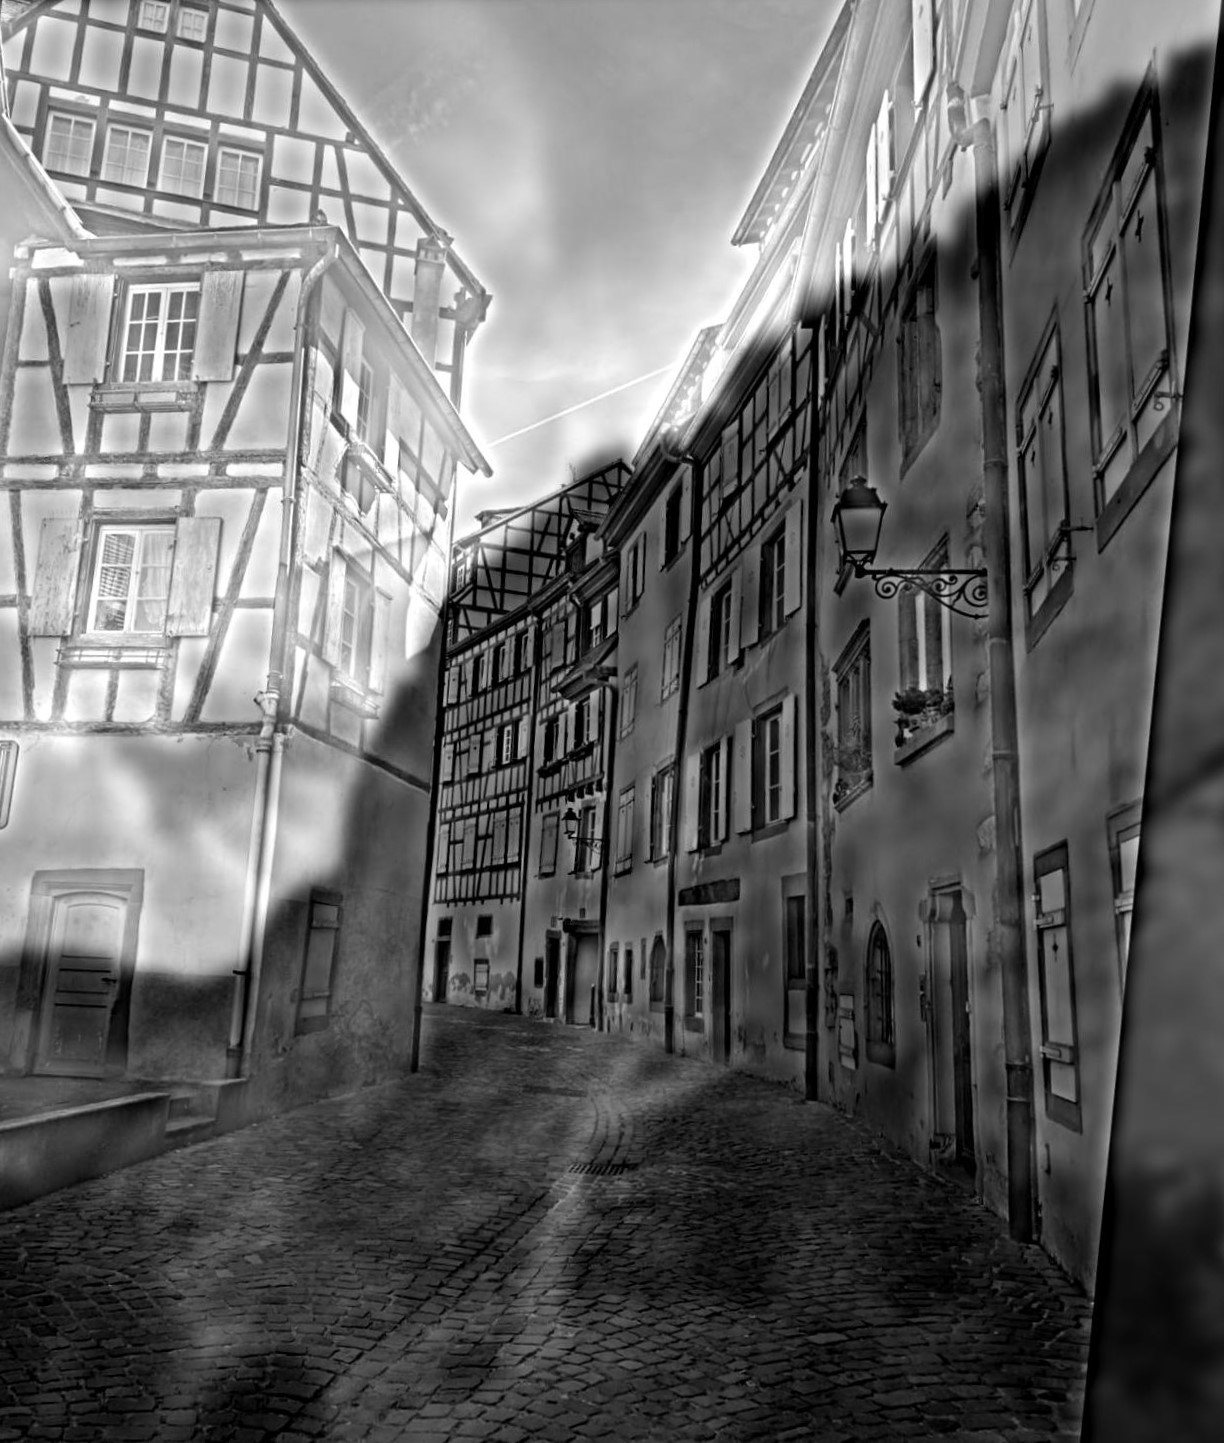

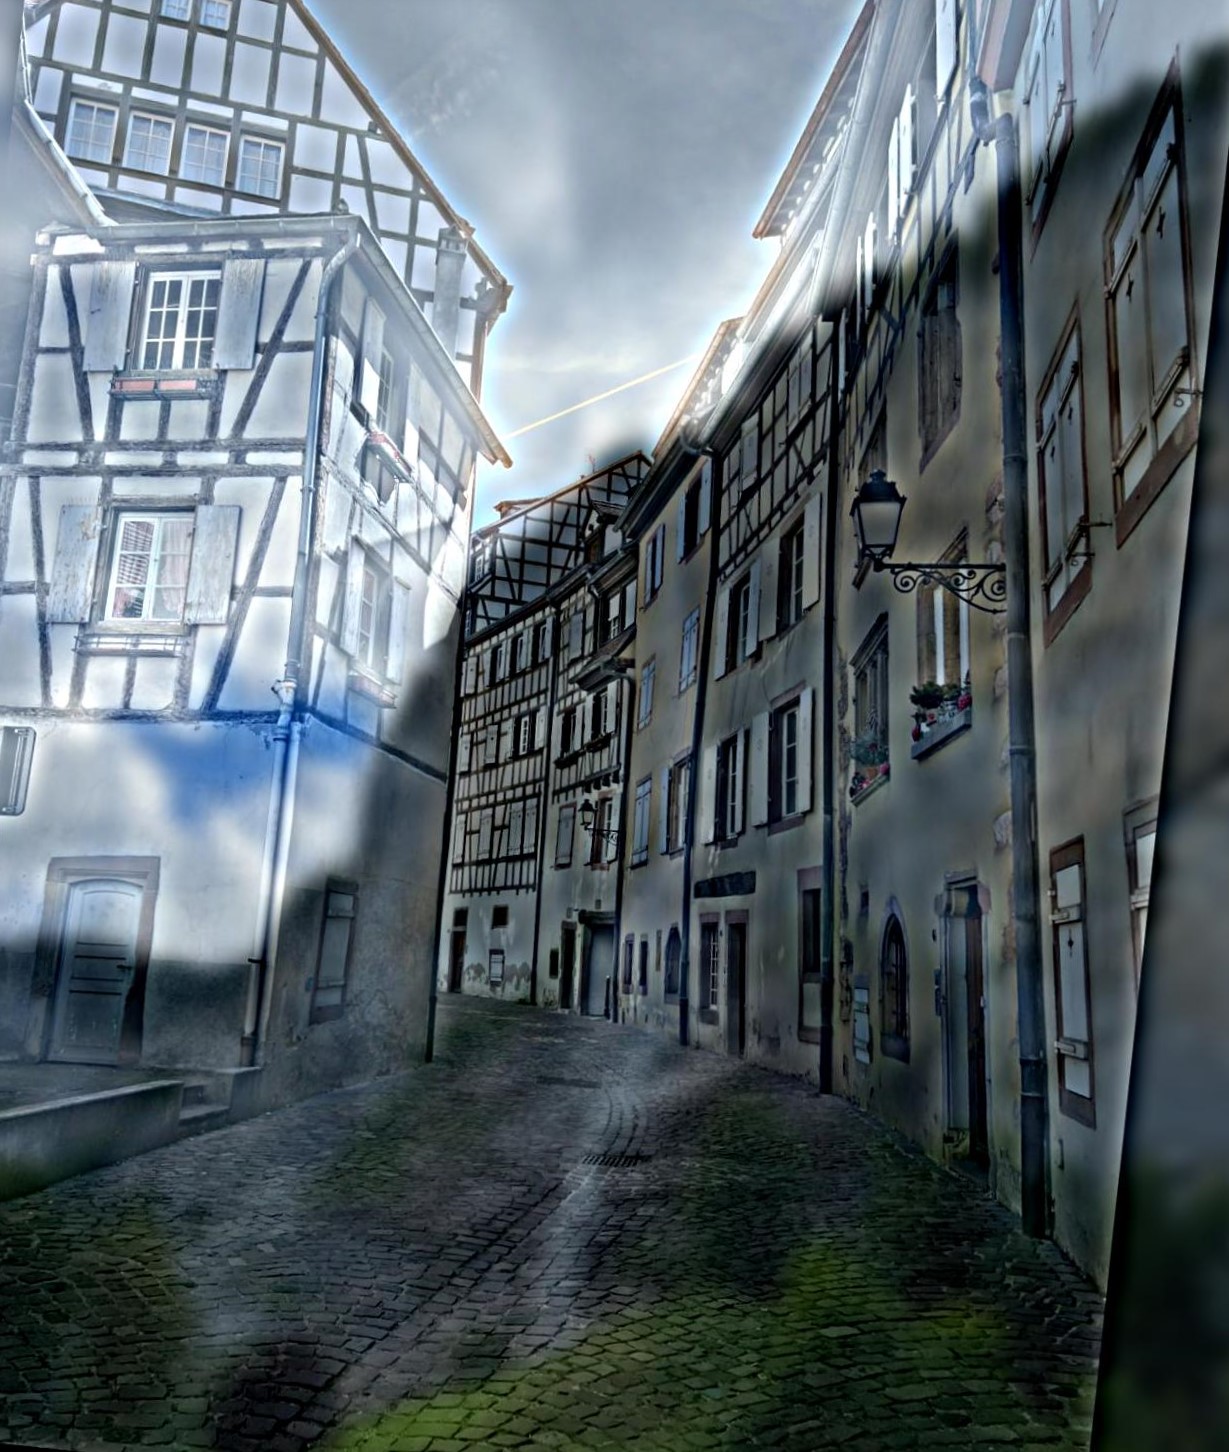

Hybrid Images
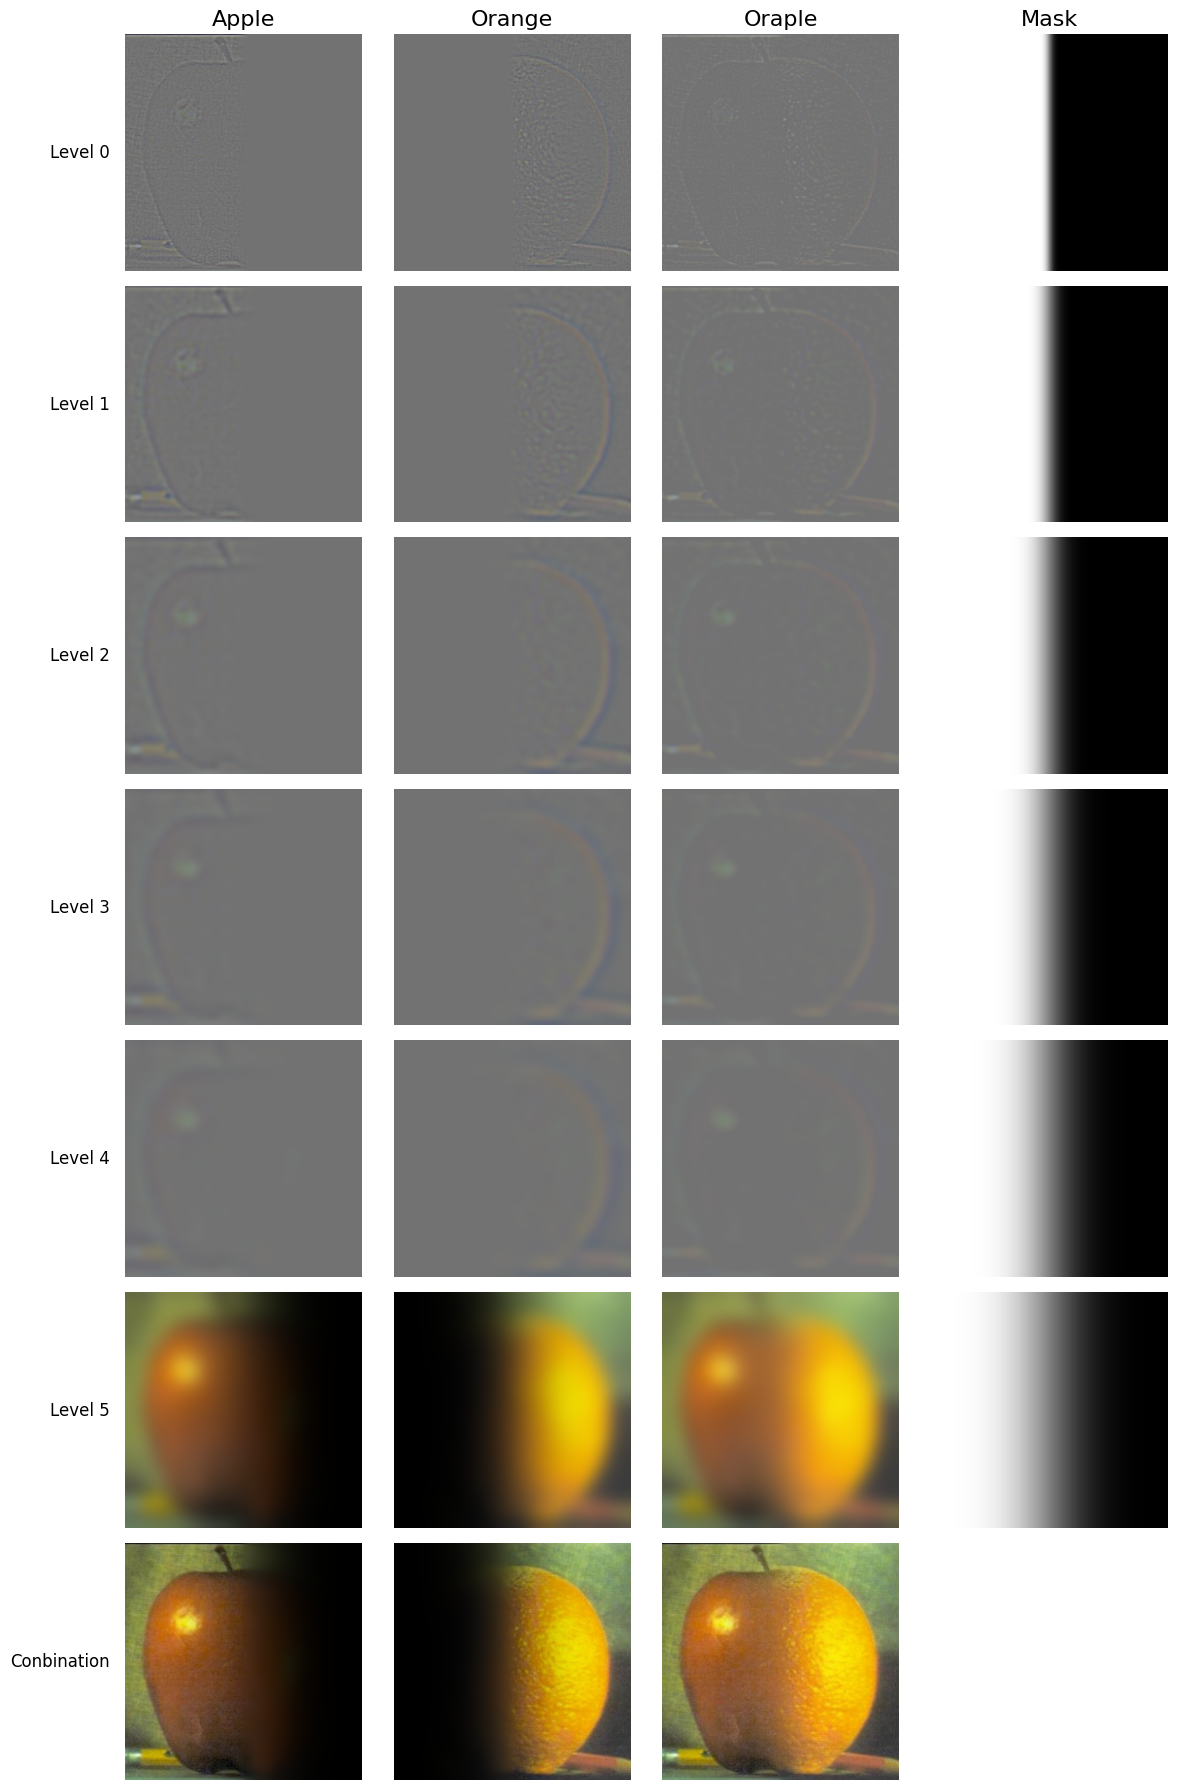
A fixed constant is added to all the Laplacian levels to aid visualization.
